The back has 4 braces glued to give it strength and also a slightly curved profile. The braces have been cut from quarter sawn spruce, so that the grain runs vertically in cross section, to give the greatest resistance against bending.
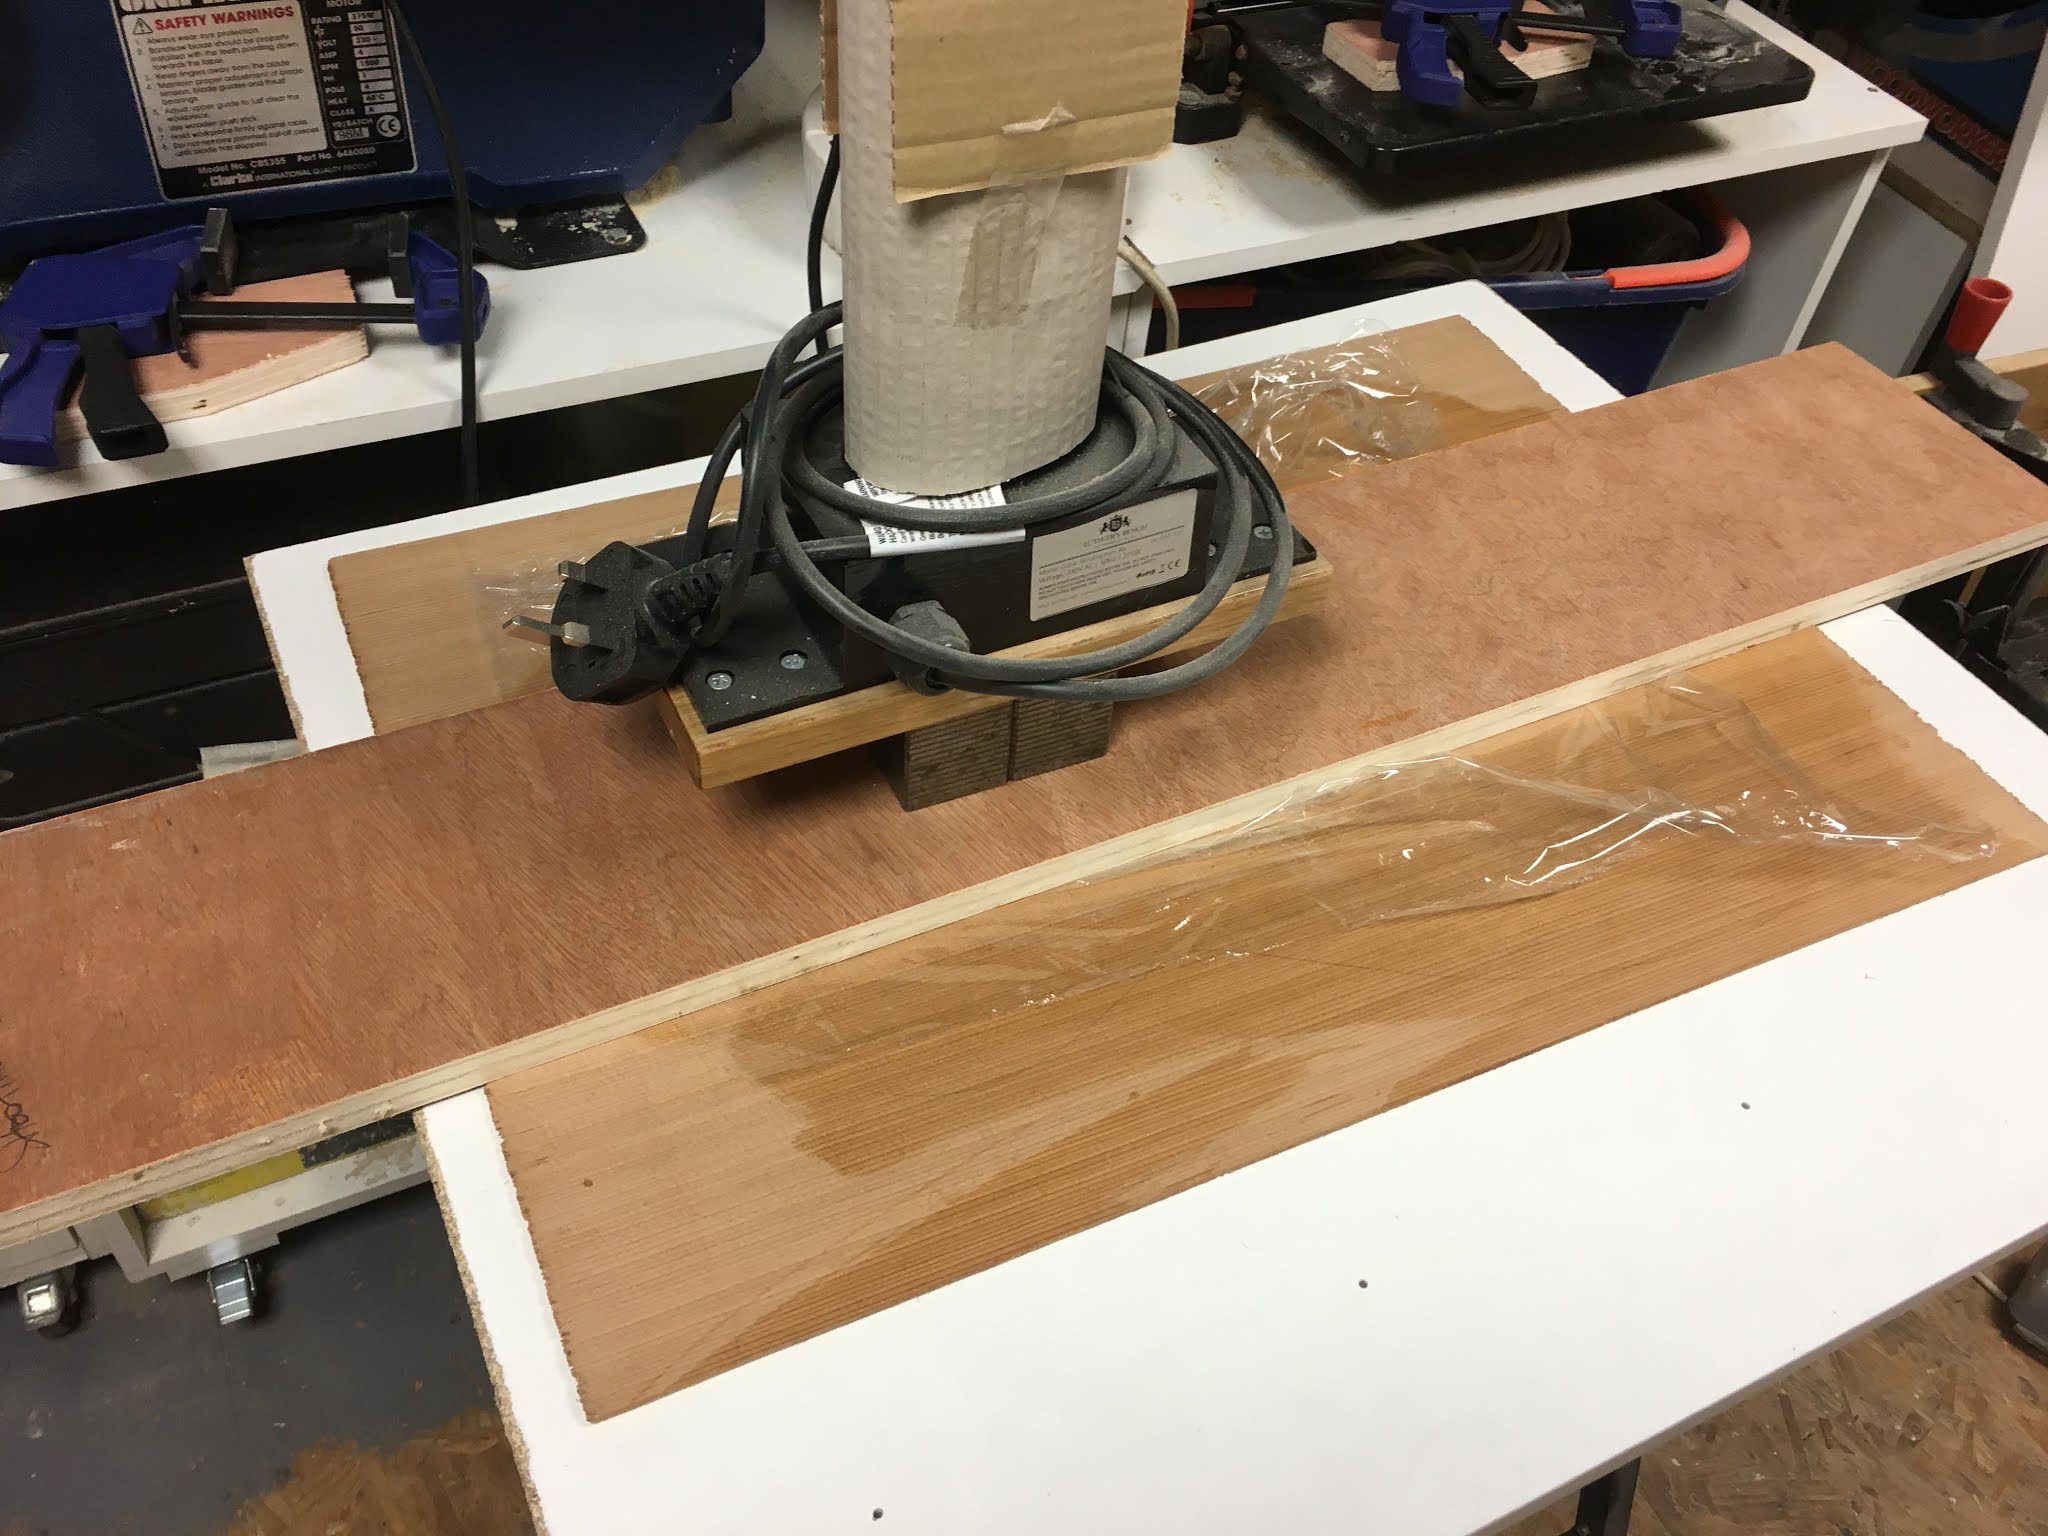
The glue face of each brace is cambered to between 1.8 and 3mm, using a plane. I used a couple of panel pins and a flexible batten to mark out the curve. A chamfer is cut into each end of each brace - this will be refined later, but helps to make sure you glue it in the right way up at this stage!

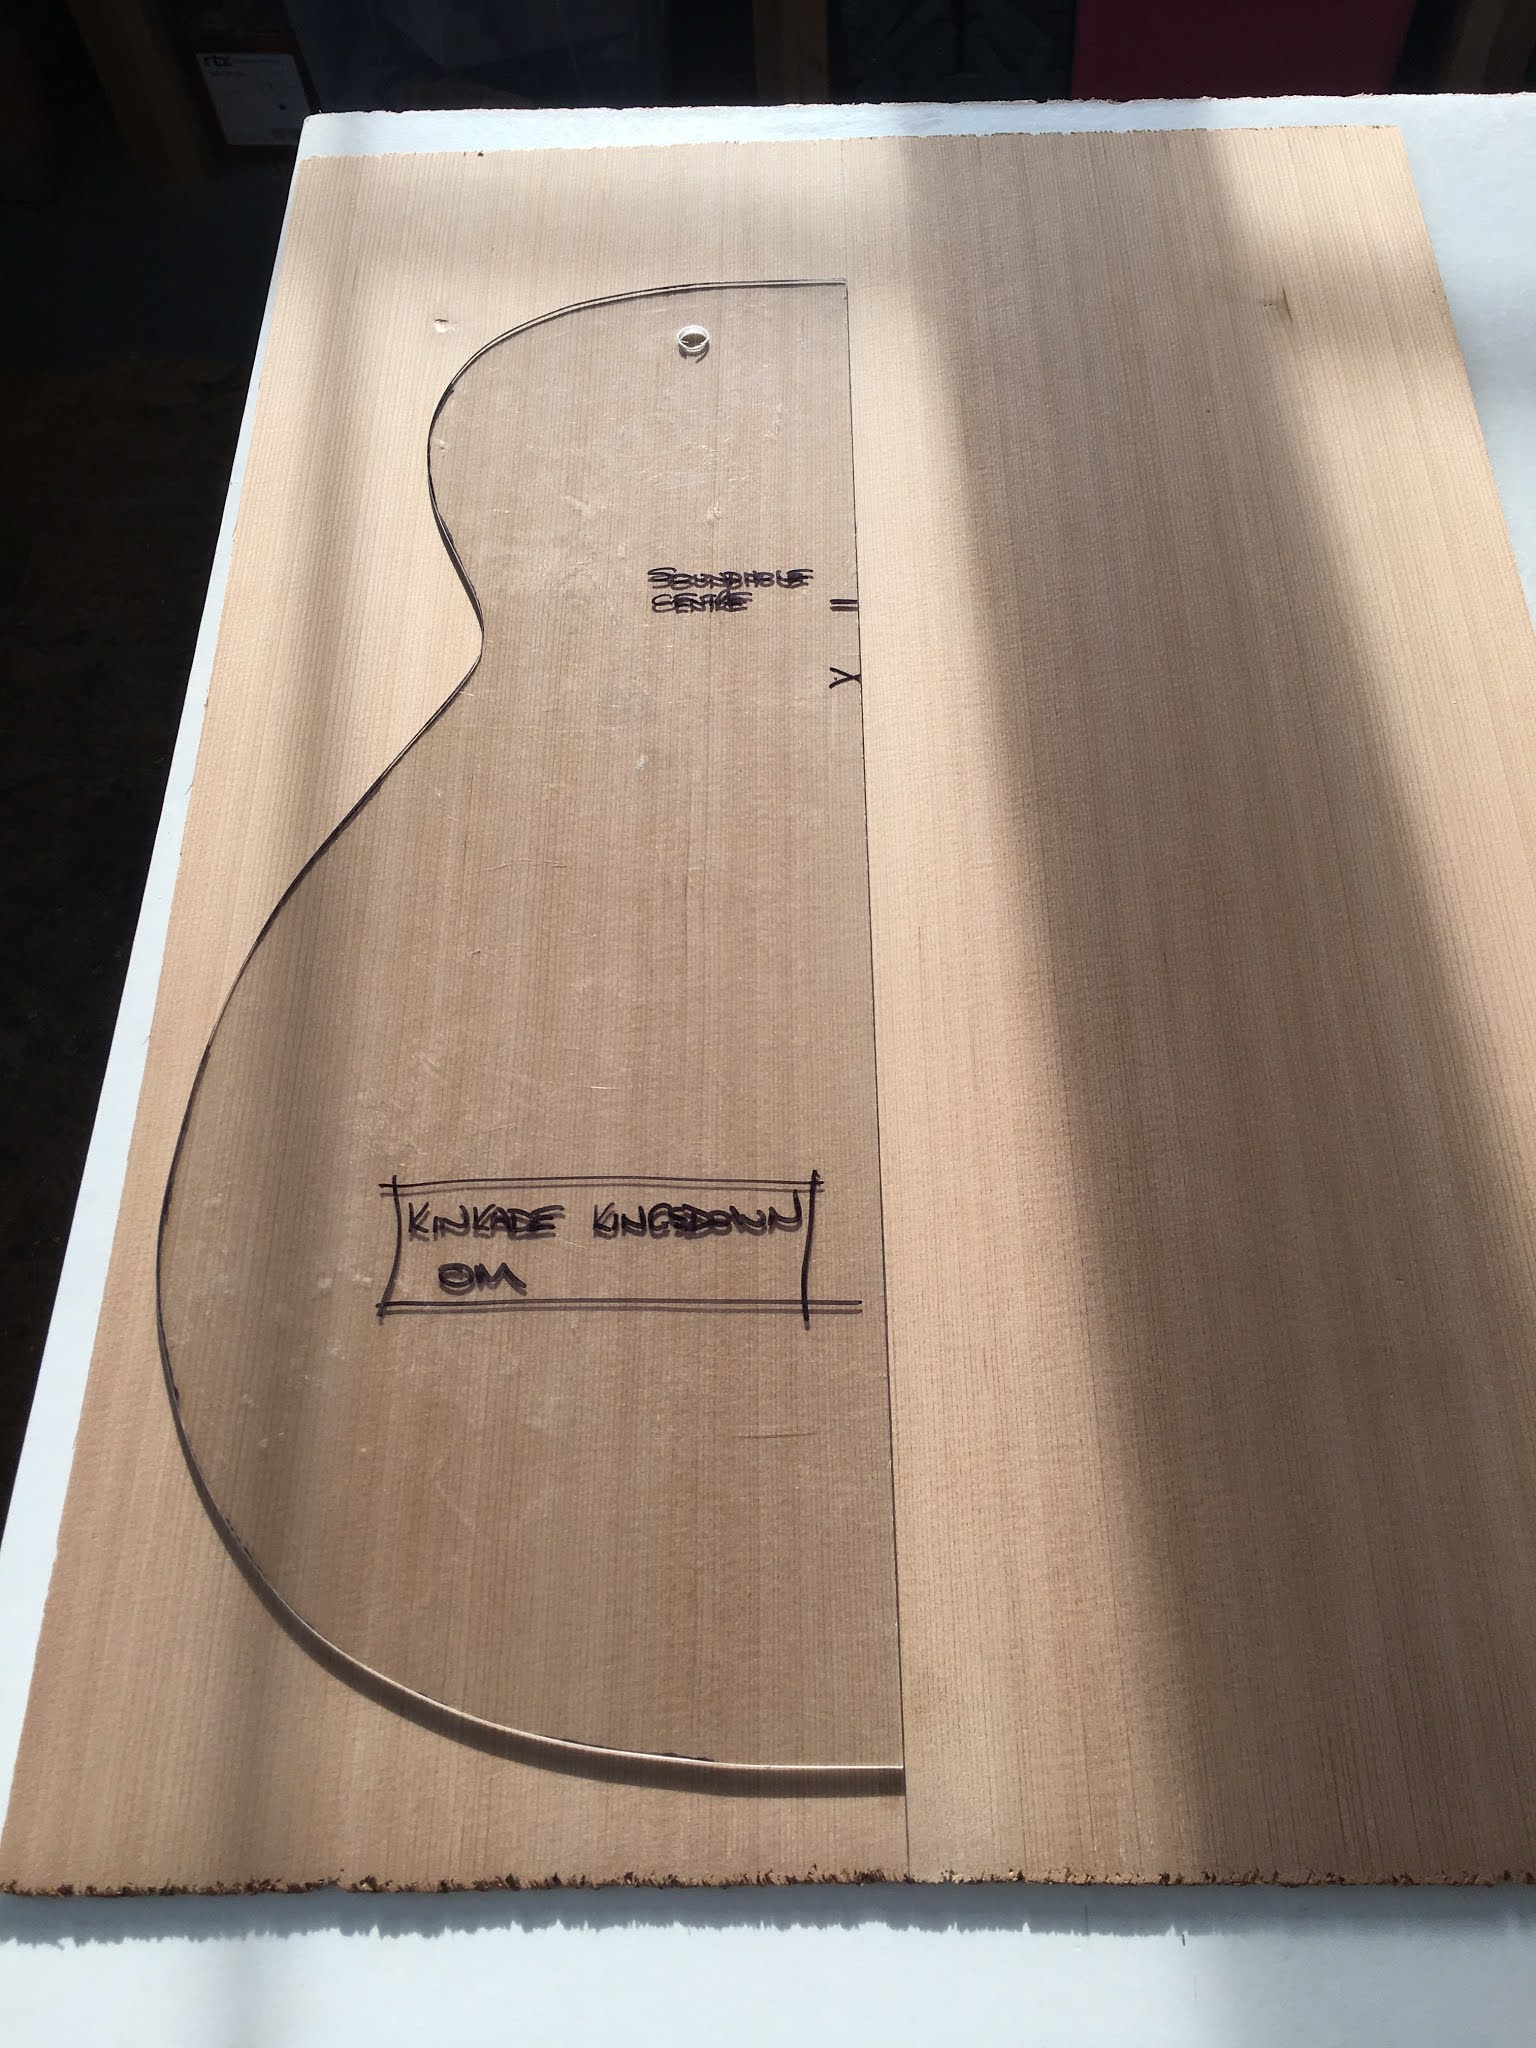
The back is marked out to show the position of each brace, being careful to make sure they are at right angles to the centreline.

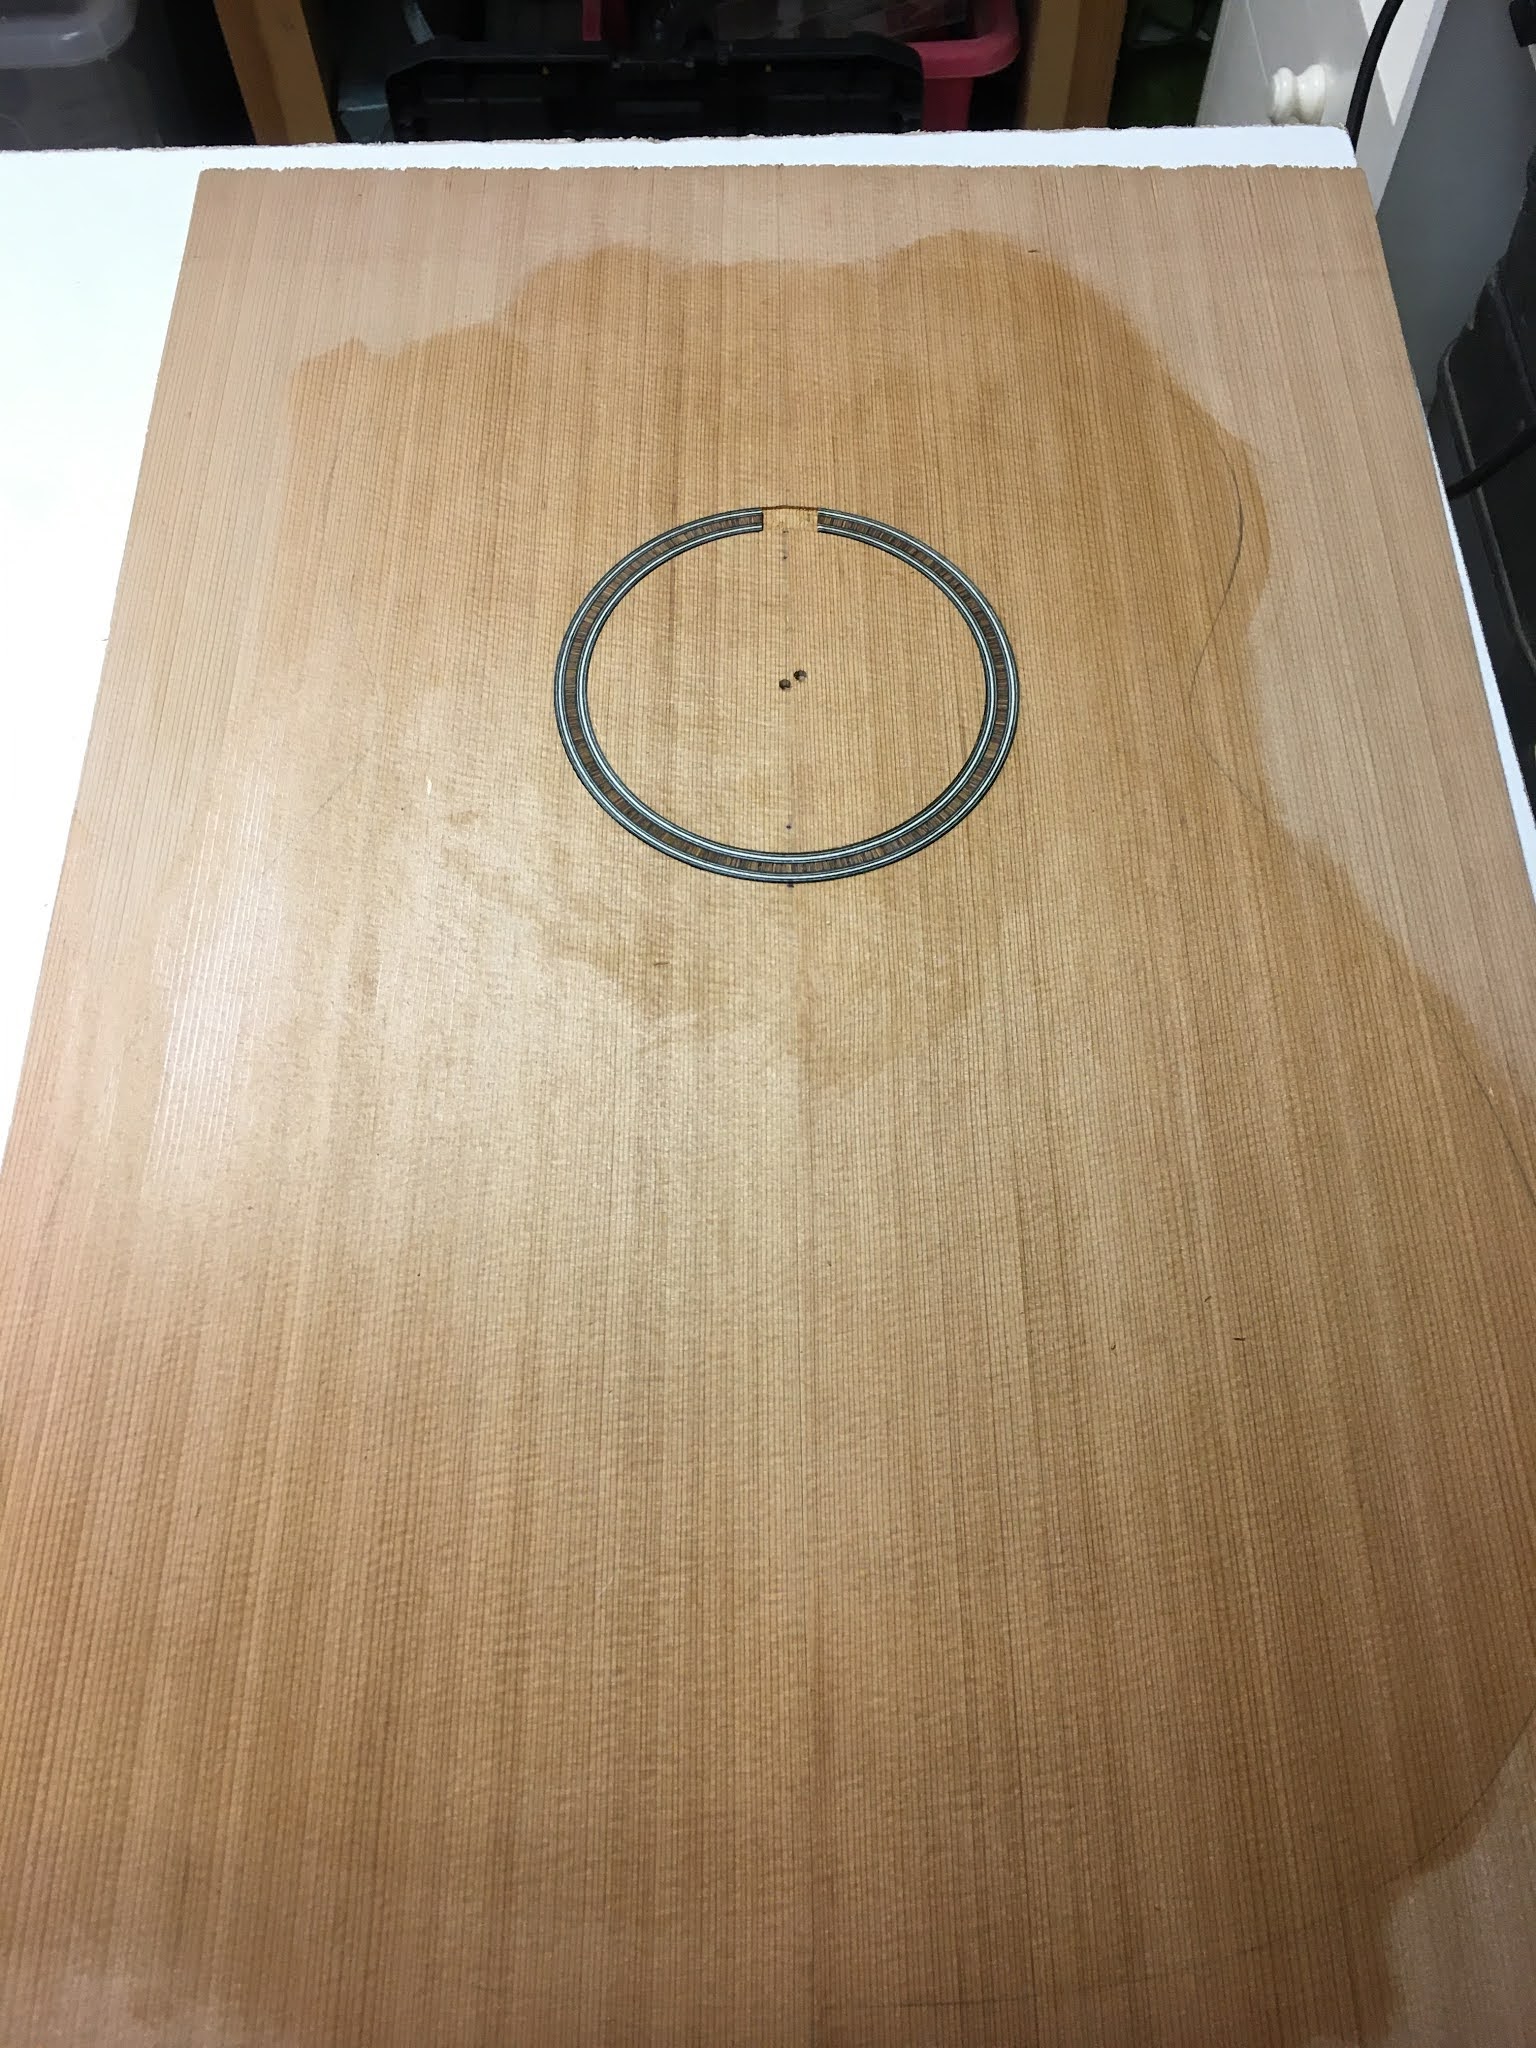
And then the centre reinforcing strip is scored down each side of each brace, with a sharp craft knife, and the surplus removed with a chisel, being careful to get a nice tight fit between the reinfoircing strip and each brace.


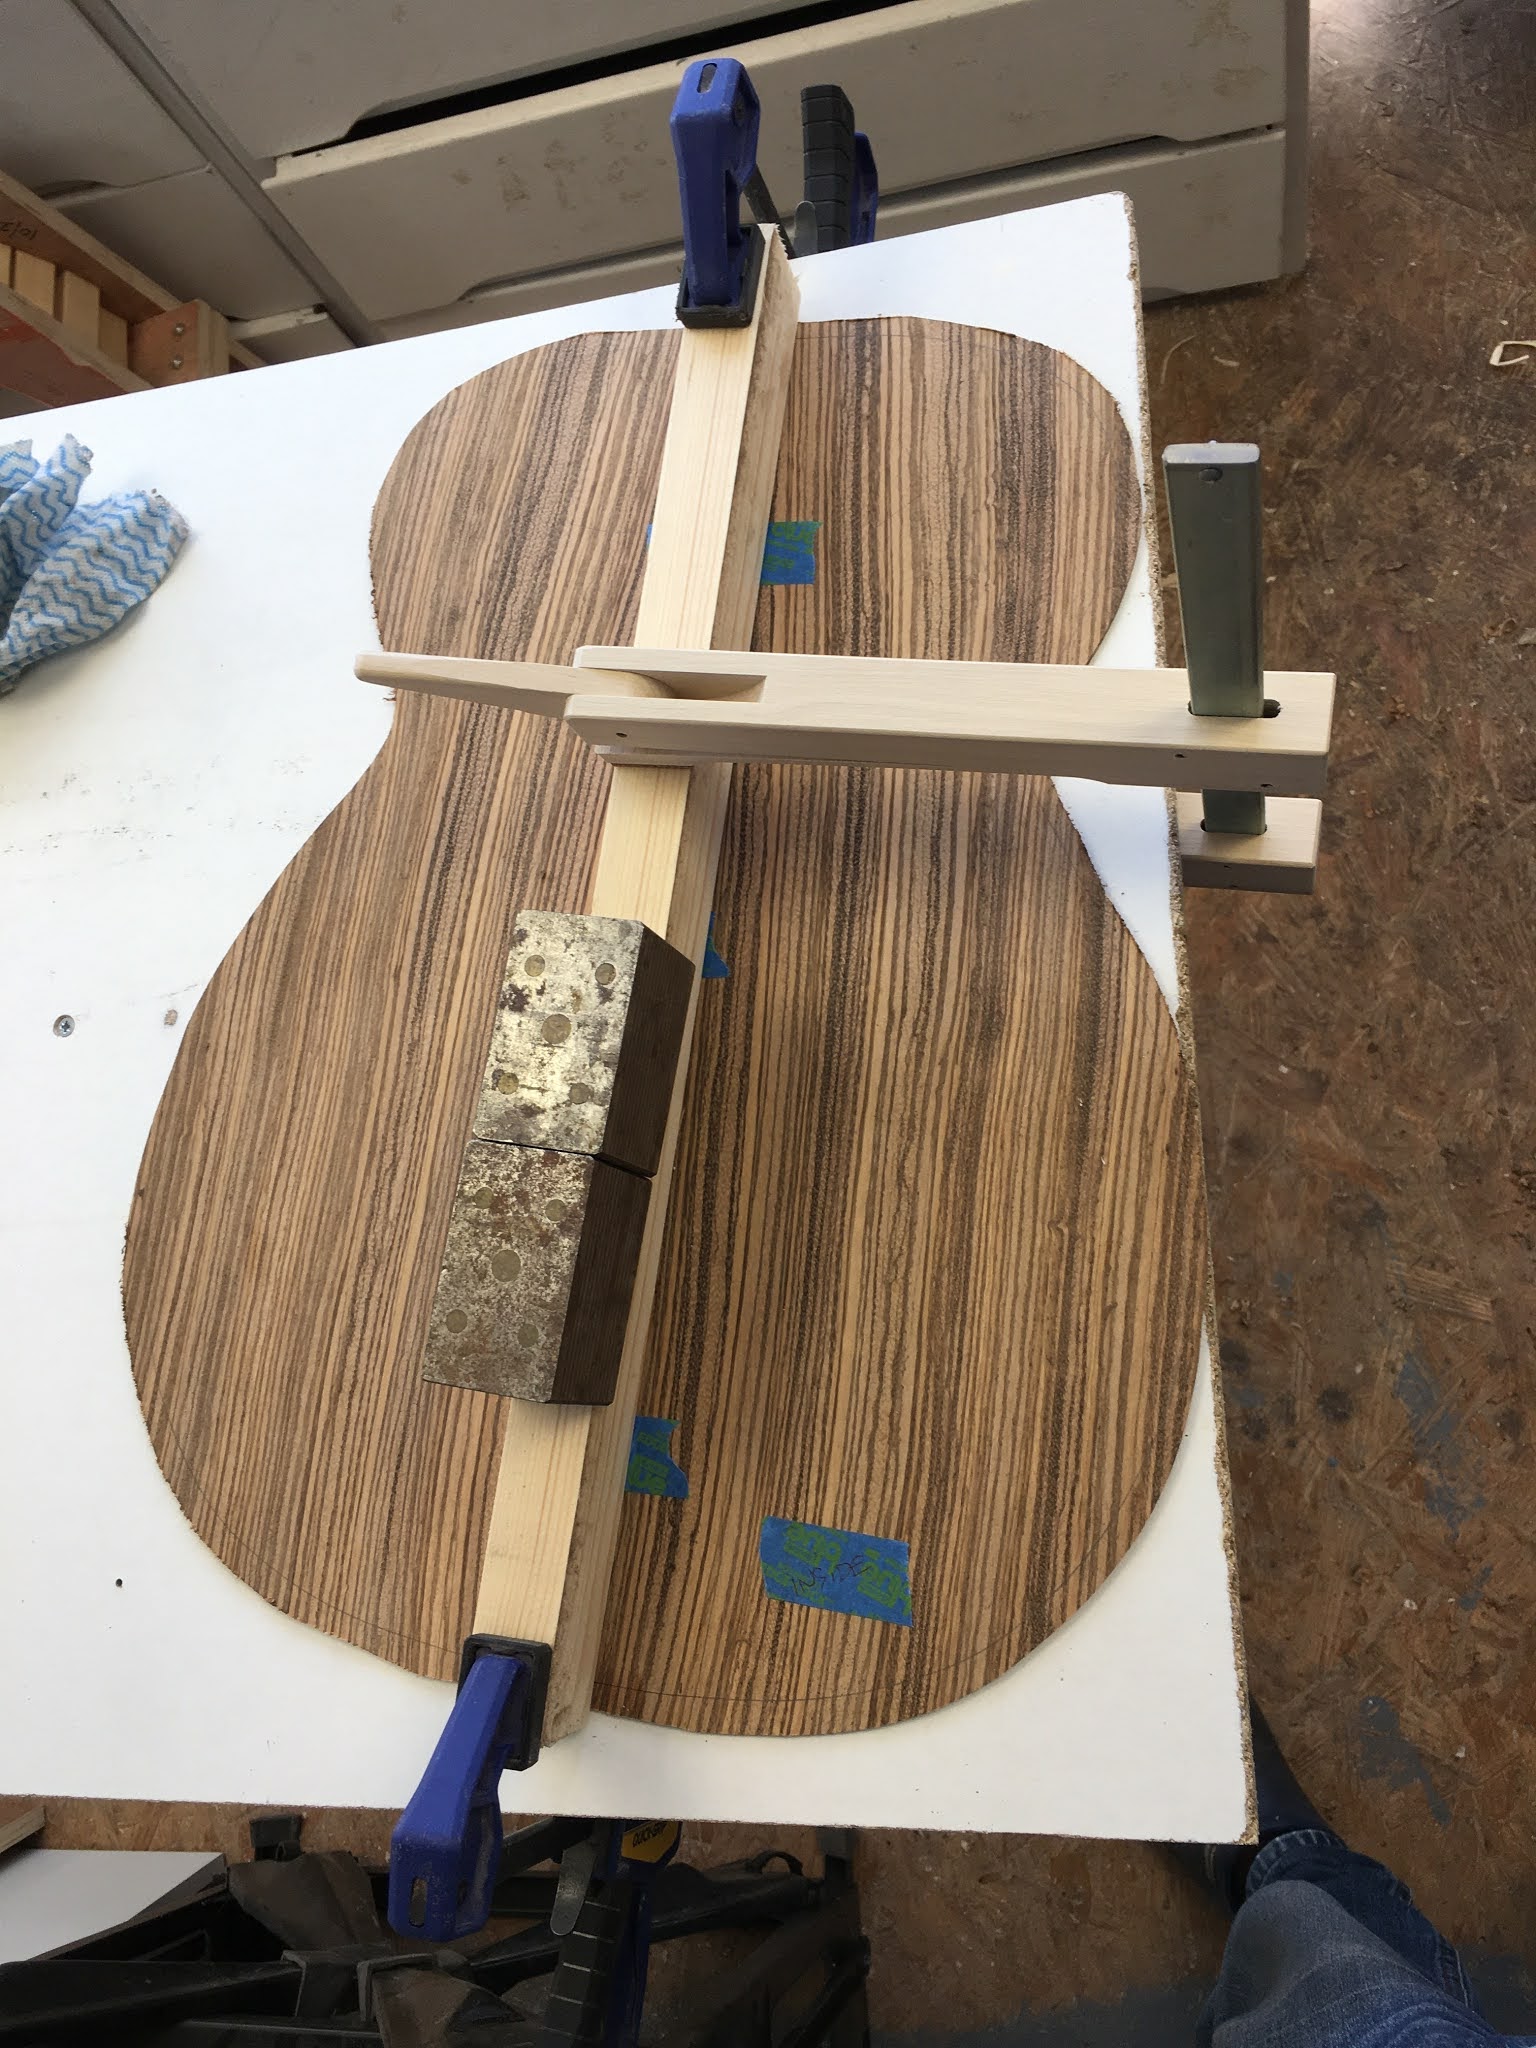
Then the braces are glued in. I did it in two phases as I didn't have enough clamps to do it all at once. That also meant I had a bit more space to work in. It's hard to get in to clean up the squeezed out glue but worth persevering, as it's a much neater finish if you can get it all off!

I left all of that to cure for a few hours and then repeated for the remaining two braces.

That all feels a bit stronger now. But looks a bit ugly.

I protected the back with some card and then planed the braces down to size and with an arched profile. Then I used the belt sander to add in a nicer chamfer at the end of each brace.....


... before hand sanding down to the final shape. I protected the reinforcing strip with tape so I didn't change the profile of that at all.


I'm really pleased with the end result and it's great to have the first "component" finished.