
After the disastrous attempt at thicknessing the back, I took a much more careful approach with the soundboard. This is made from Western Red Cedar and comes rough sawn as photo below. The markings are as delivered - just to show it is guitar sized! Again, this was delivered at about 5mm thick and needs to be taken down to about 3mm.
The soundboard comes in 2 "book matched" pieces (i.e. mirror images) and needs to be glued together down the centreline.

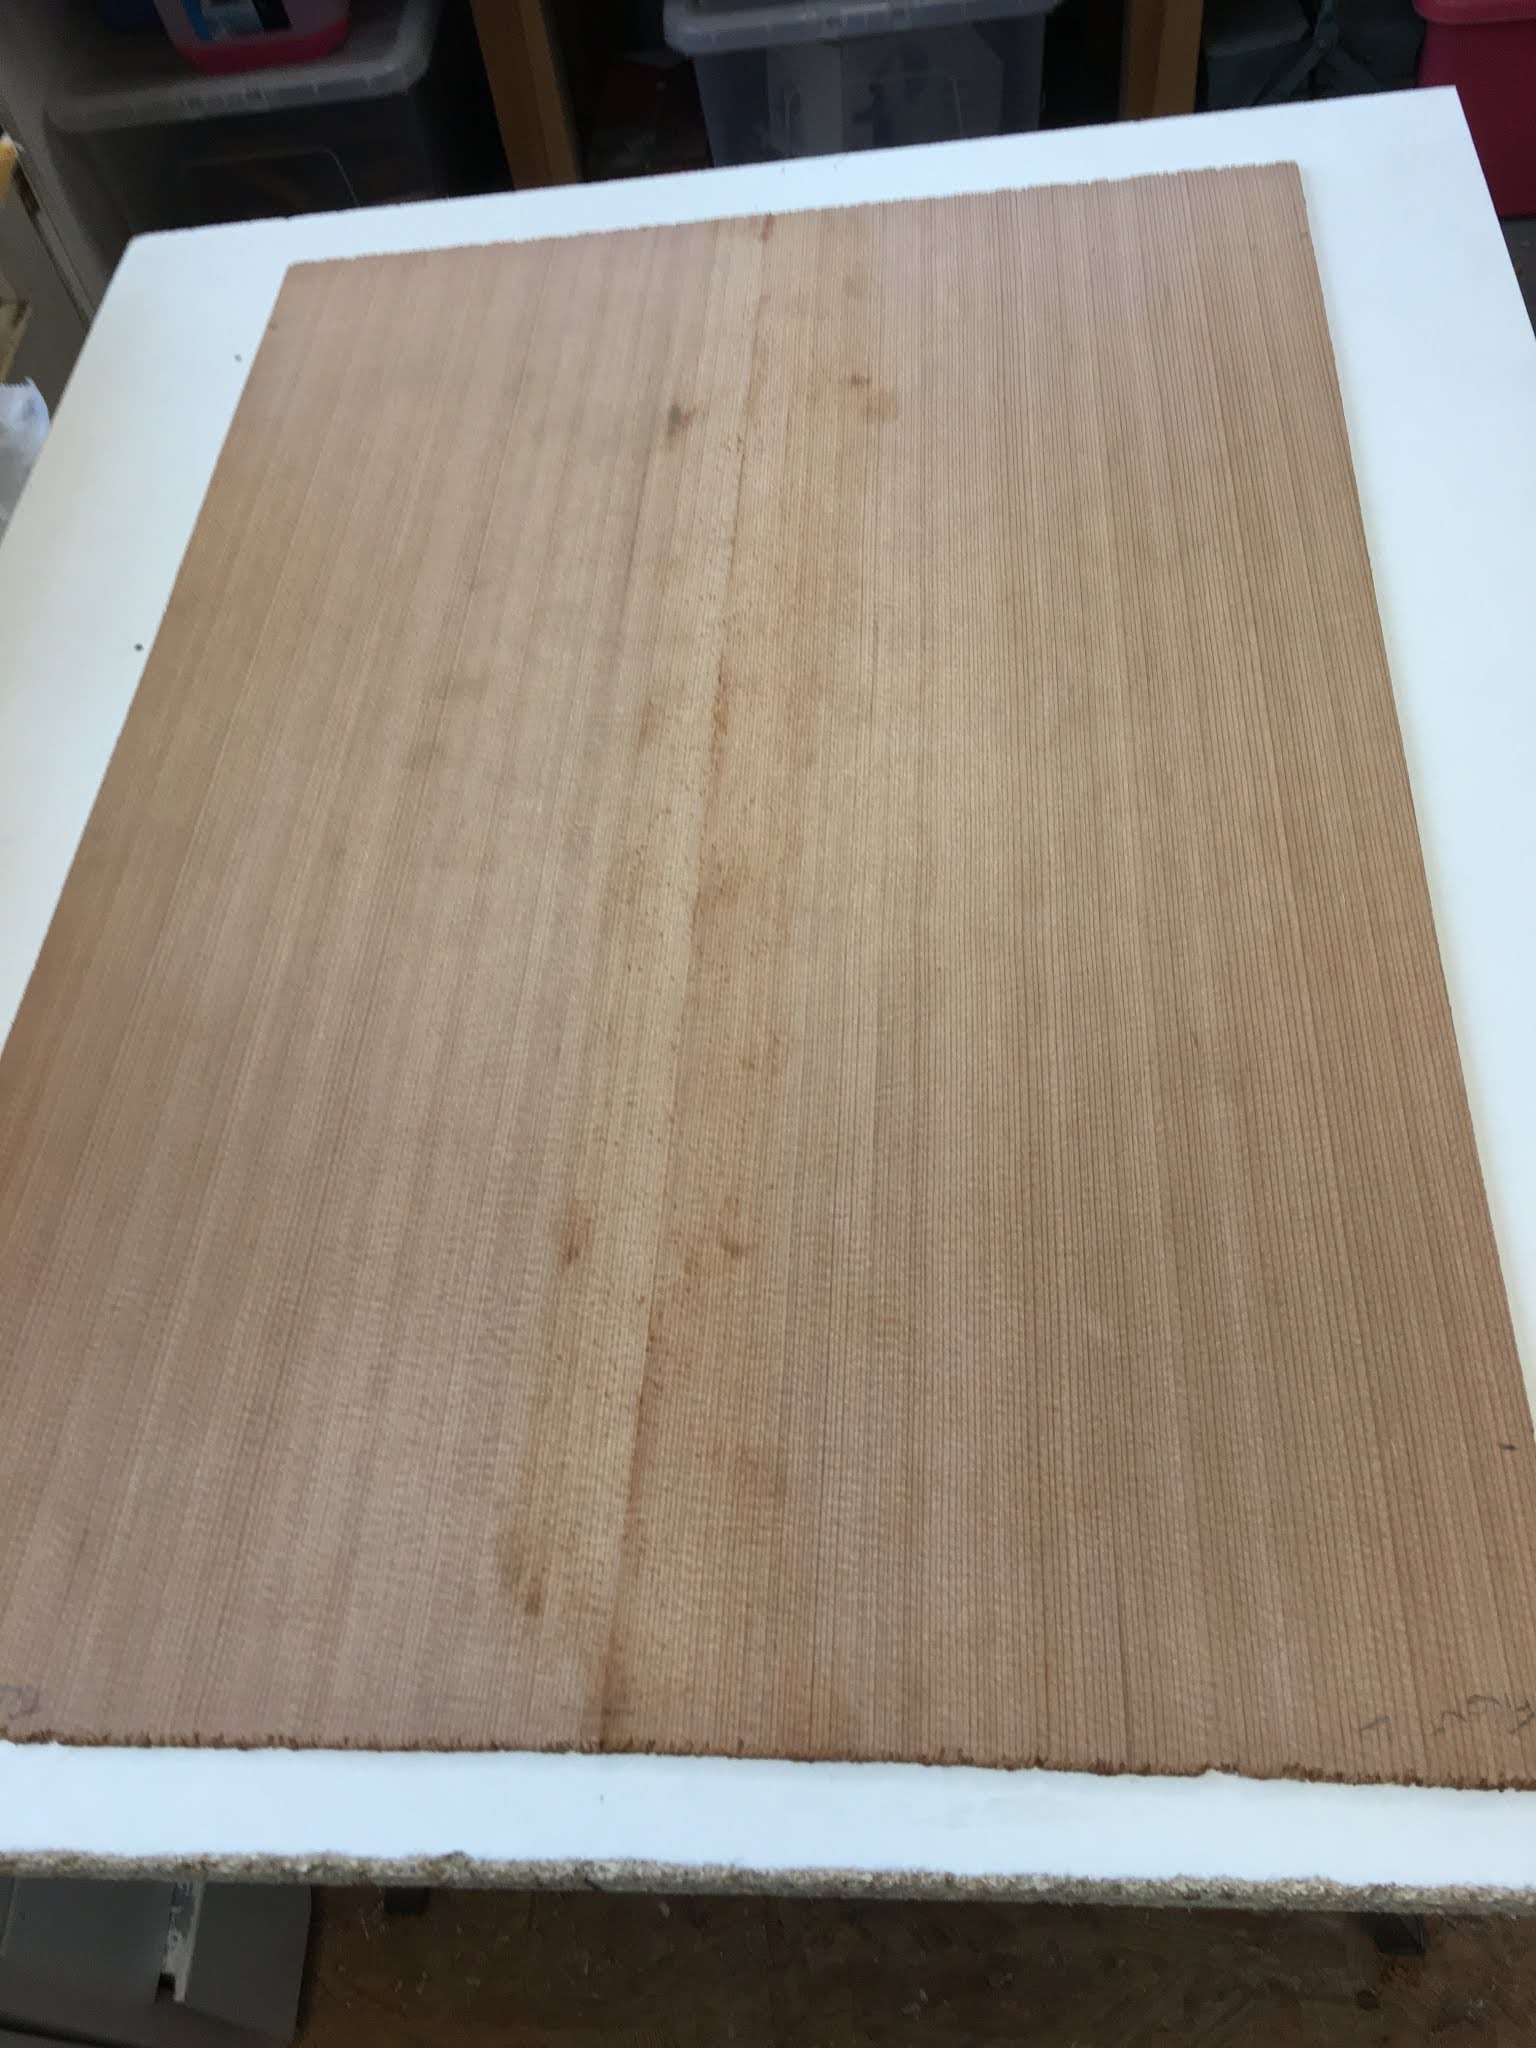
Using the thicknesser, taking nice small amounts off each half to keep them the same thickness, this really shows the lovely cedar grain. I was careful not to go too thin!!


Using the half template I could find the ideal line for the centre joint and marked it out so that the joint line was parallel as possible to the grain direction. Then I carefully cut it out on the bandsaw.

The joint now needs to be planed absolutely perpendicular and straight on both boards. To do this you use a "shooting board", which is a posh name for 2 flat pieces of timber. I used some scrap contiboard and ply that I had and set it out as below and clamped to the WorkMate.


Using a freshly sharpened plane, you can then run it along it's flat side so that it remains accurately perpendicular. Taking nice thin shavings off each time, the joint was soon straight, as can be seen in the picture below. The "acid test" is to hold the joint together against a window and see if any light comes through the joint anywhere. I had to go back two or three times before it was flat enough to pass this test.


When glueing the joint, you need to keep a horizontal pressure on. The following method worked well.
You put a thin batten (I used about 6mm) below the centre joint and then a row of nails down each side to restrain the board edges. The idea is that, when the batten is removed and the joint clamped flat against the board, the distance between the nails is fractionally too small, so applies a constant pressure to hold the joint together.
Having set it up, I put some cling film each side of the joint to prevent it sticking, then applied the glue; rubbed the 2 edges together to spread evenly; put the boards in the jig on the batten; withdrew the batten and then clamped up using some scrap ply to spread the load and a slightly curved clamping beam, so it can be clamped at each end but applies pressure along the whole joint.


I left it overnight to set and was really pleased with the result. When It's sanded back, I think the joint will be barely visible.
To procrastinate for a while before I have to start cutting into my lovely new top for the decorative inlays around the soundhole etc, I cut the various braces for the backs of the soundboard and back from a piece of quarter sawn spruce.

No comments:
Post a Comment