I was going to do a fairly basic ornamentation, with a couple of black/white stripy bits around the soundhole, but then came across some nice real wood rosettes on the Touchstone Tonewoods website, which I thought would look a bit more special with the cedar top.
While I was ordering that, I bought a selection of purfling strips as well, to see which one would look nicest for the back joint. I'm amazed how relatively cheap these are for the detail in them (this lot came to less than £25, including the rosette). I guess it's a bit like making a stick of rock - once you've got it all set up, you can cut thousands of lengths in one go.
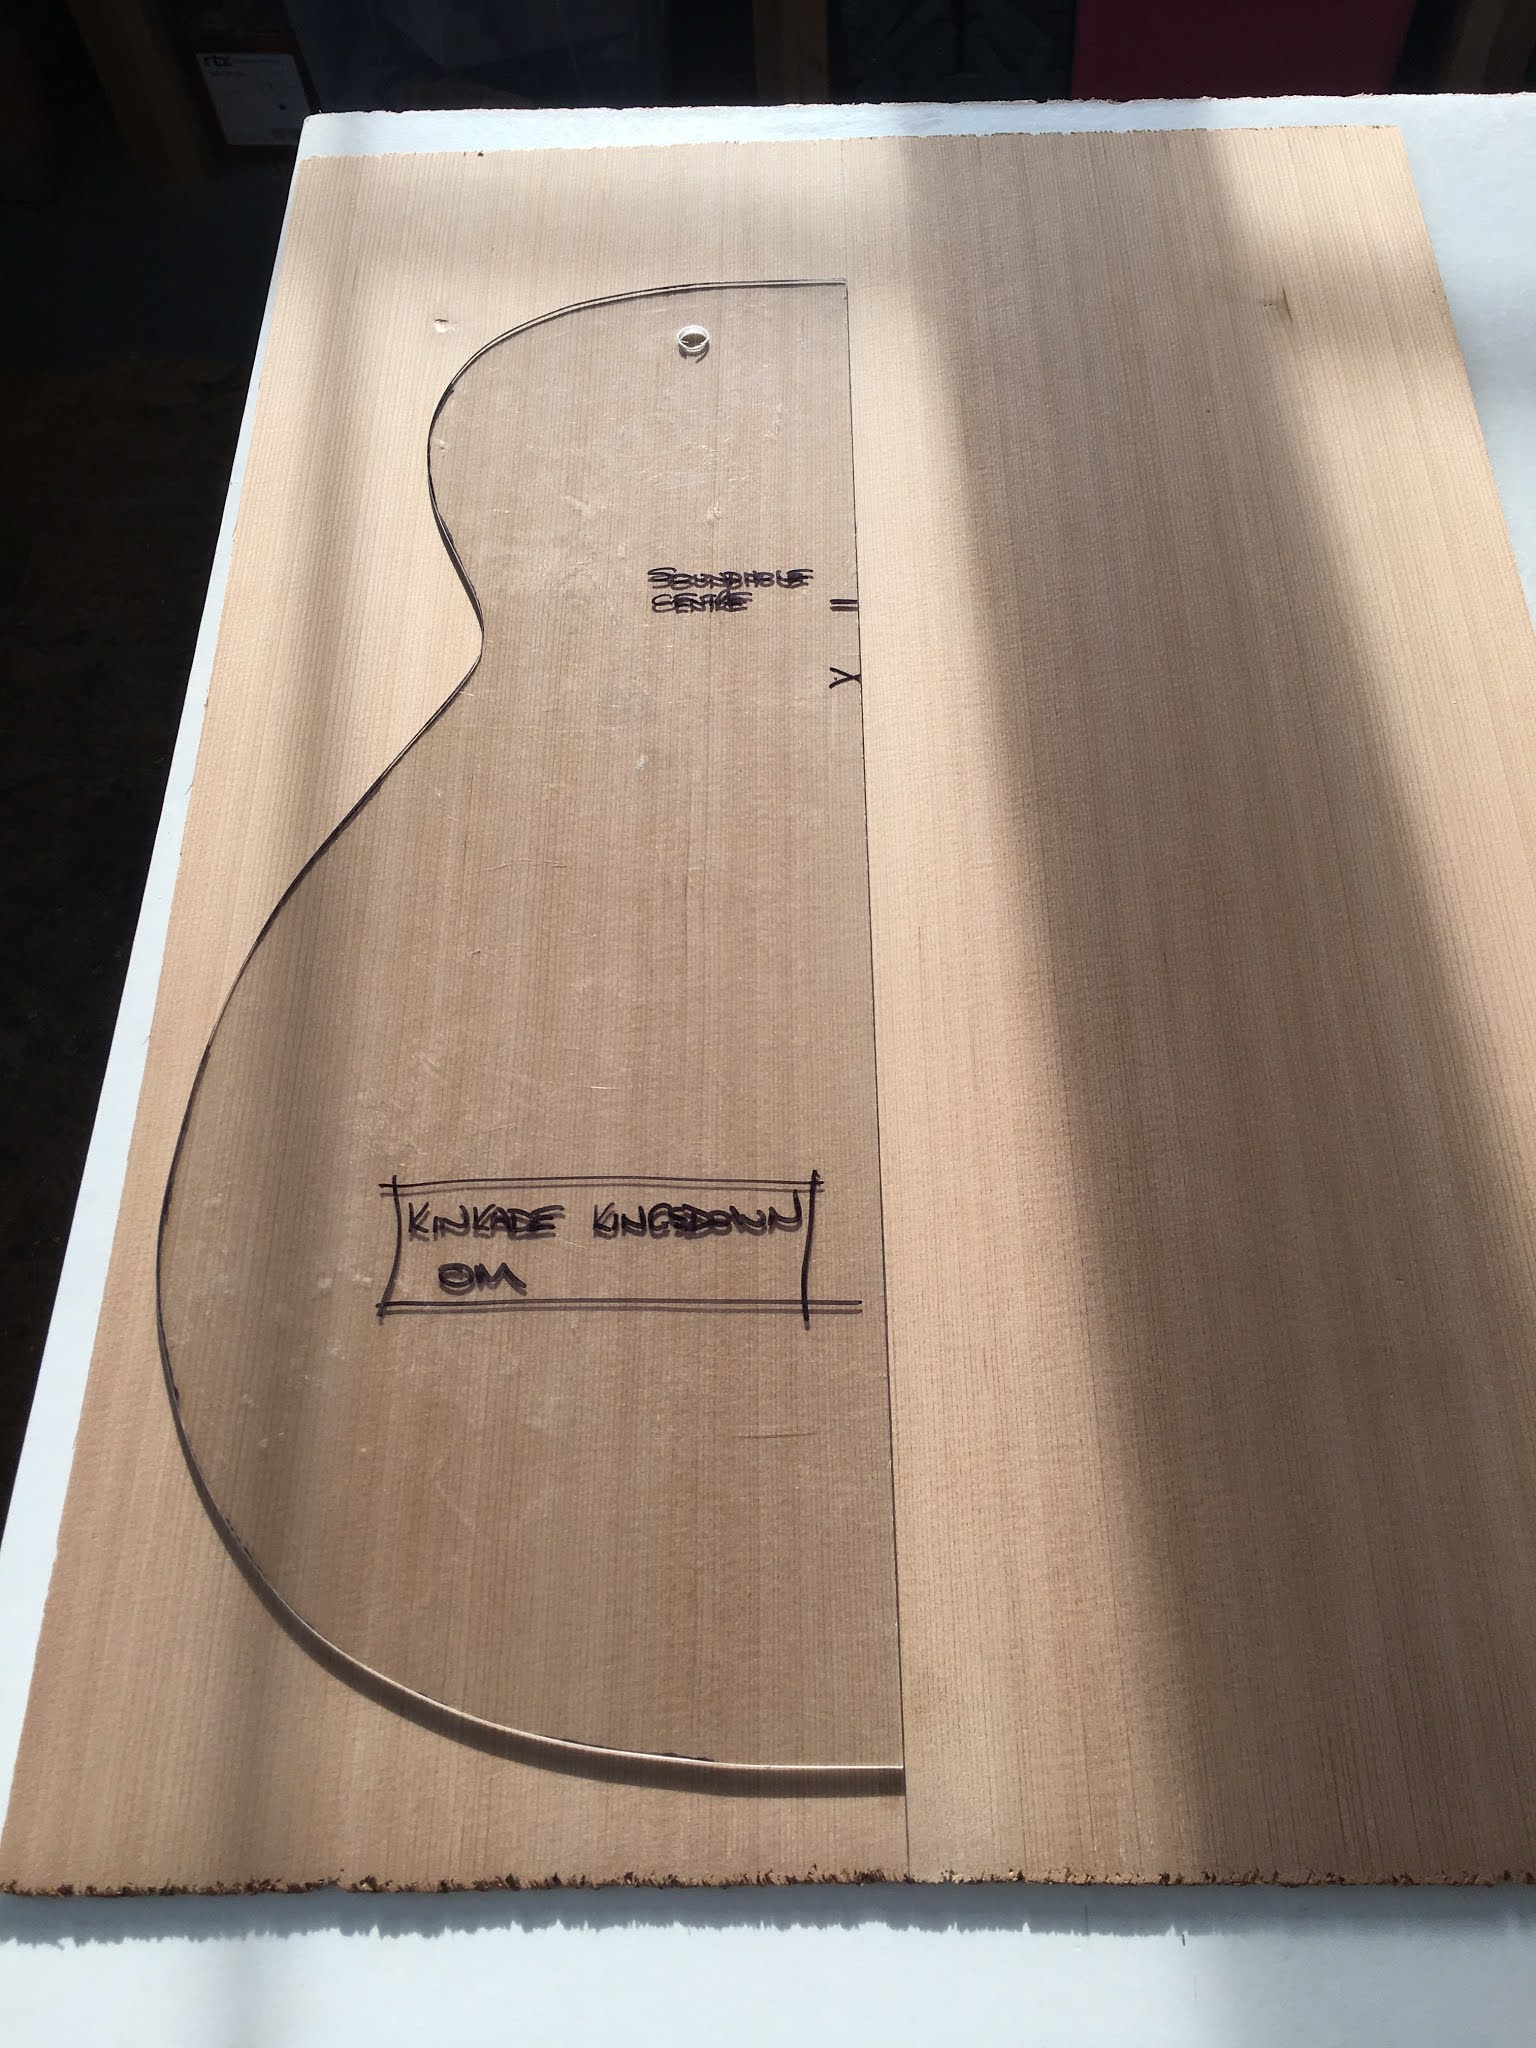
The two halves of the soundboard were unclamped and then both sides sanded to get rid of glue marking etc; also to select the best side for the outside. Then I marked the centerline along the joint and used the half template to mark the outline.
Following a tip off the internet, I coated the surface in shellac to protect it and also to help prevent "tear-out" of fibres when I rout out for the rosette and soundhole. Then marked the position of the centre of the soundhole and also the various points where the channel and the soundhole needs to be cut.

I had a couple of abortive attempts now to prepare for circle cutting. First I made an adaptor to mount a craft knife in the Dremel circle guide; the idea being to cut the fibres before routing and end up with a cleaner cut.


There were two problems with that. Firstly, the craft knife blade was flexing too much, so not giving an accurate cut, and secondly, the adjuster on the circle guide is so coarse that I was struggling to get an accurate diameter set. Fortunately, both sides of the wood were equally good, so I could start again on the other side! (That is also why there are 2 centre holes in the later photos, as the template was drawn in a very slightly different location.)
After much deep thought, I resisted buying the precision circle cutting jig for £150 and came up with this solution instead - a piece of scrap polycarbonate shaped and fitted to the bottom of the Dremel attachment, that I could drill the various different centre holes in. Cost - £0 Accuracy - not as good as a proper precision jig but almost there. I think any inaccuracy was more about my lack of precision in setting it up than anything else.

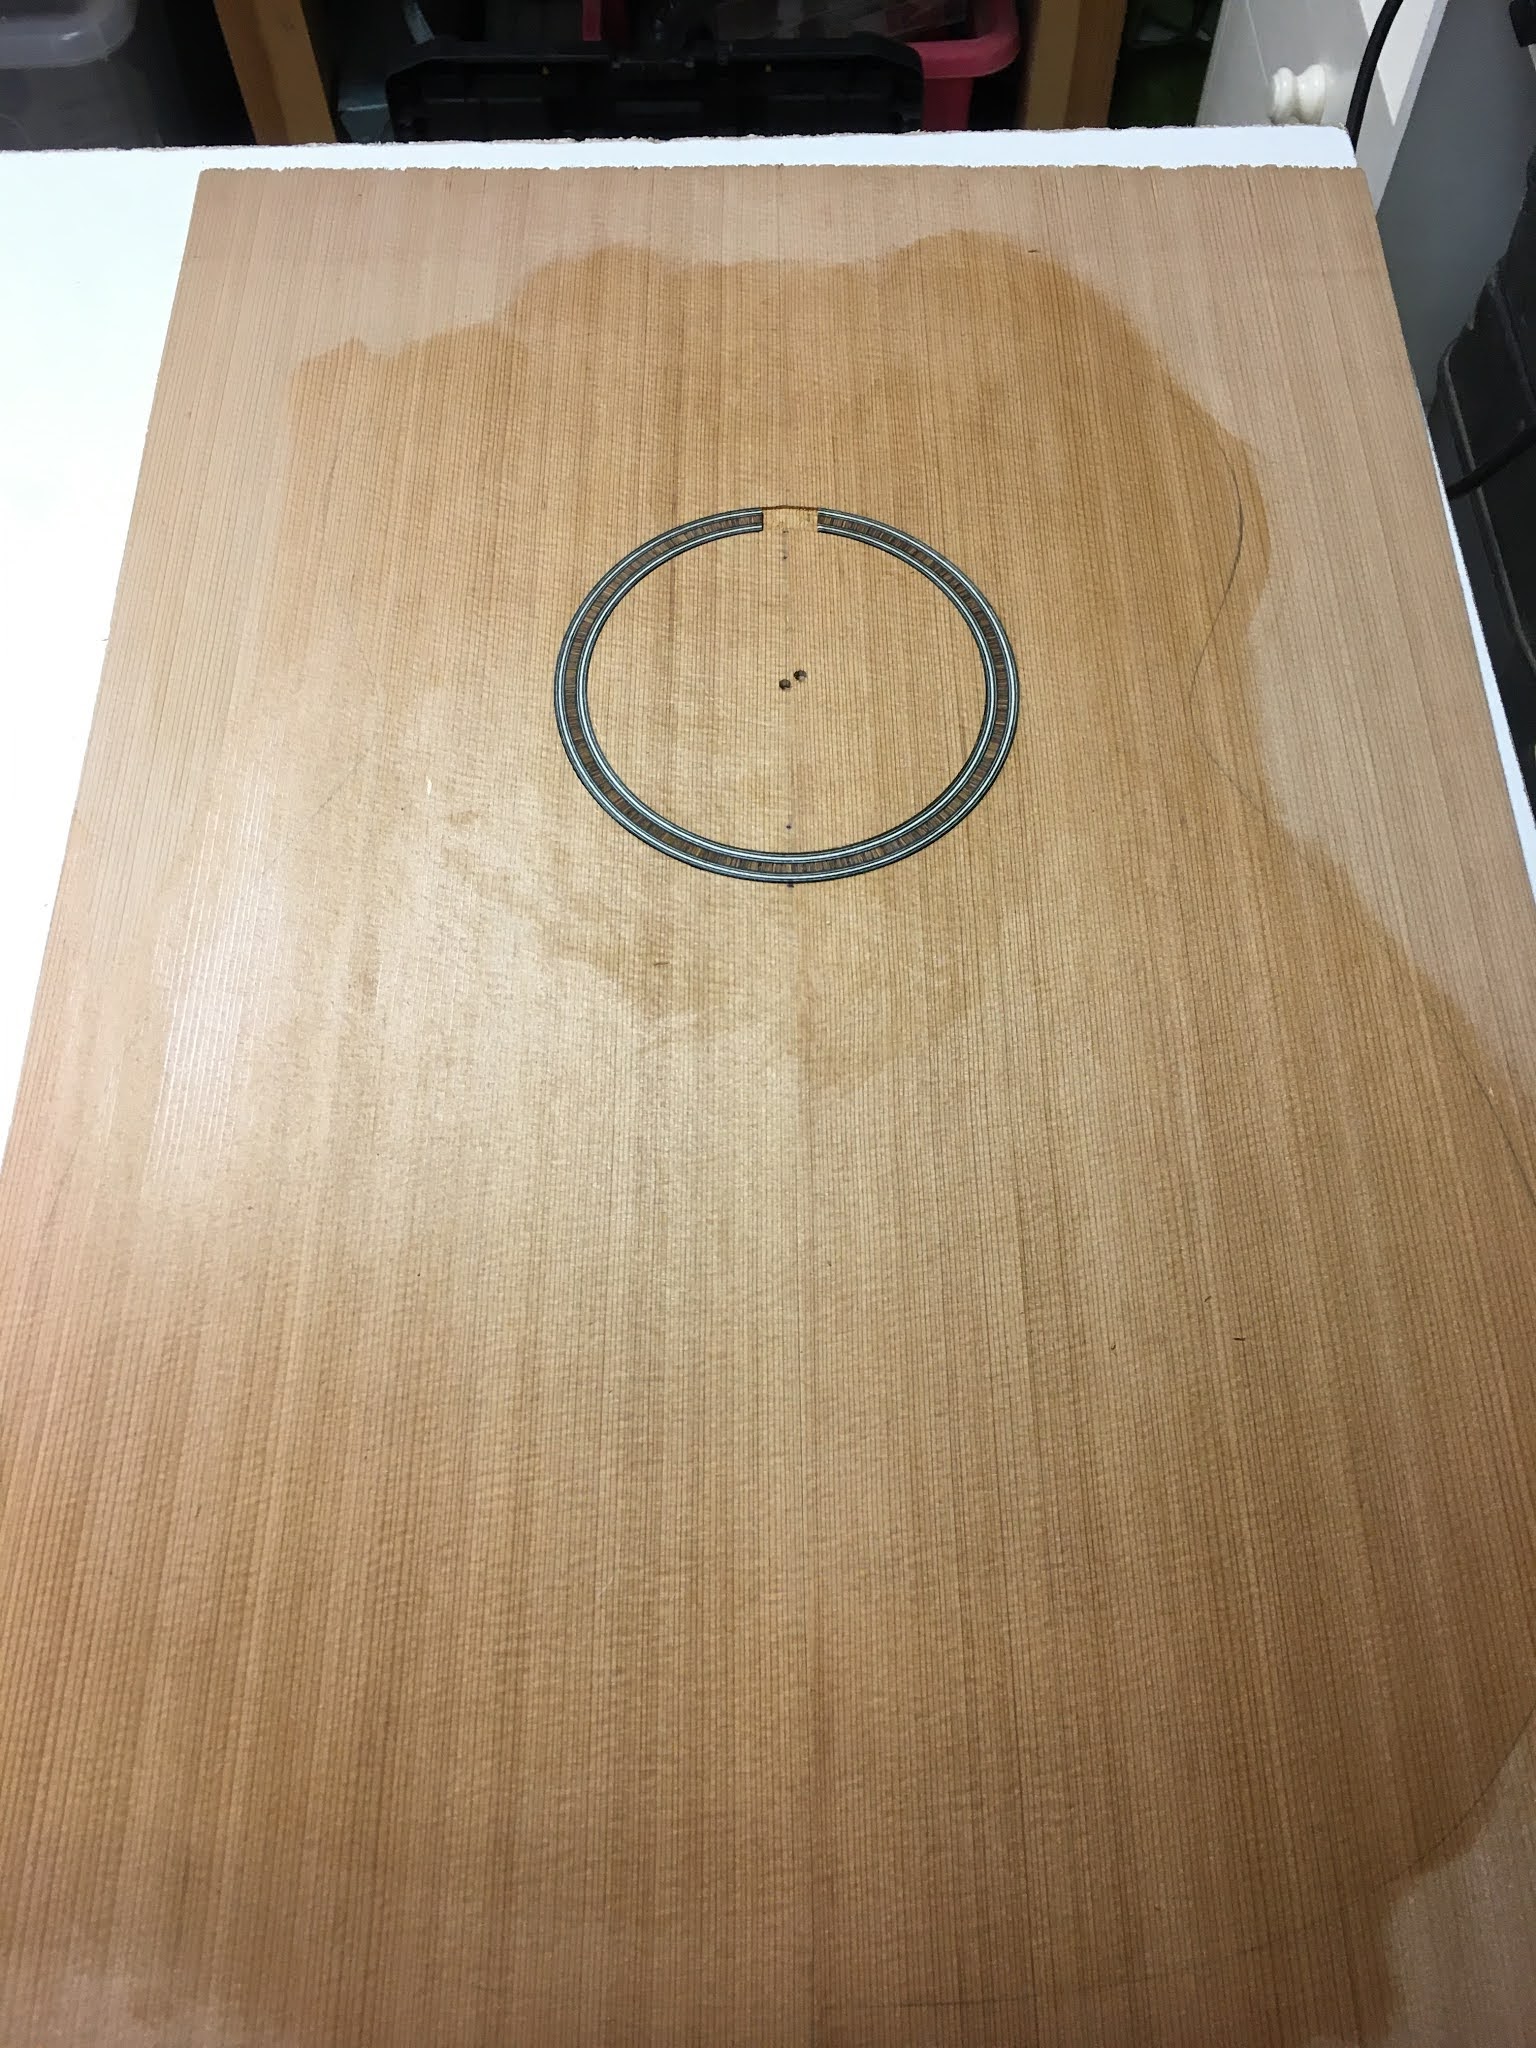
It was easy as pie to use - I drilled a 3mm hole in the soundboard and building board and matching 3mm holes in the jig and then just took it nice and slowly, taking shallow passes. I routed the inner and outer channels first, then took the middle parts out in 2 passes.
The inner cut should have been about 0.5mm bigger diameter. Doesn't sound like much, and isn't TOO noticeable, but it's a discernible gap. I'll have a go at filling that with sanding dust and glue or superglue. All part of the learning curve!
I glued in the rosette; and weighted it down well. Once dried, I added a bit of glue / sanding dust mix, then sanded it flush. There is still a little work to do on that gap but I think it will be OK.
Cutting out for the soundhole was easier; just one location to set up and then gradually increase the depth of cut by about 1mm each time.
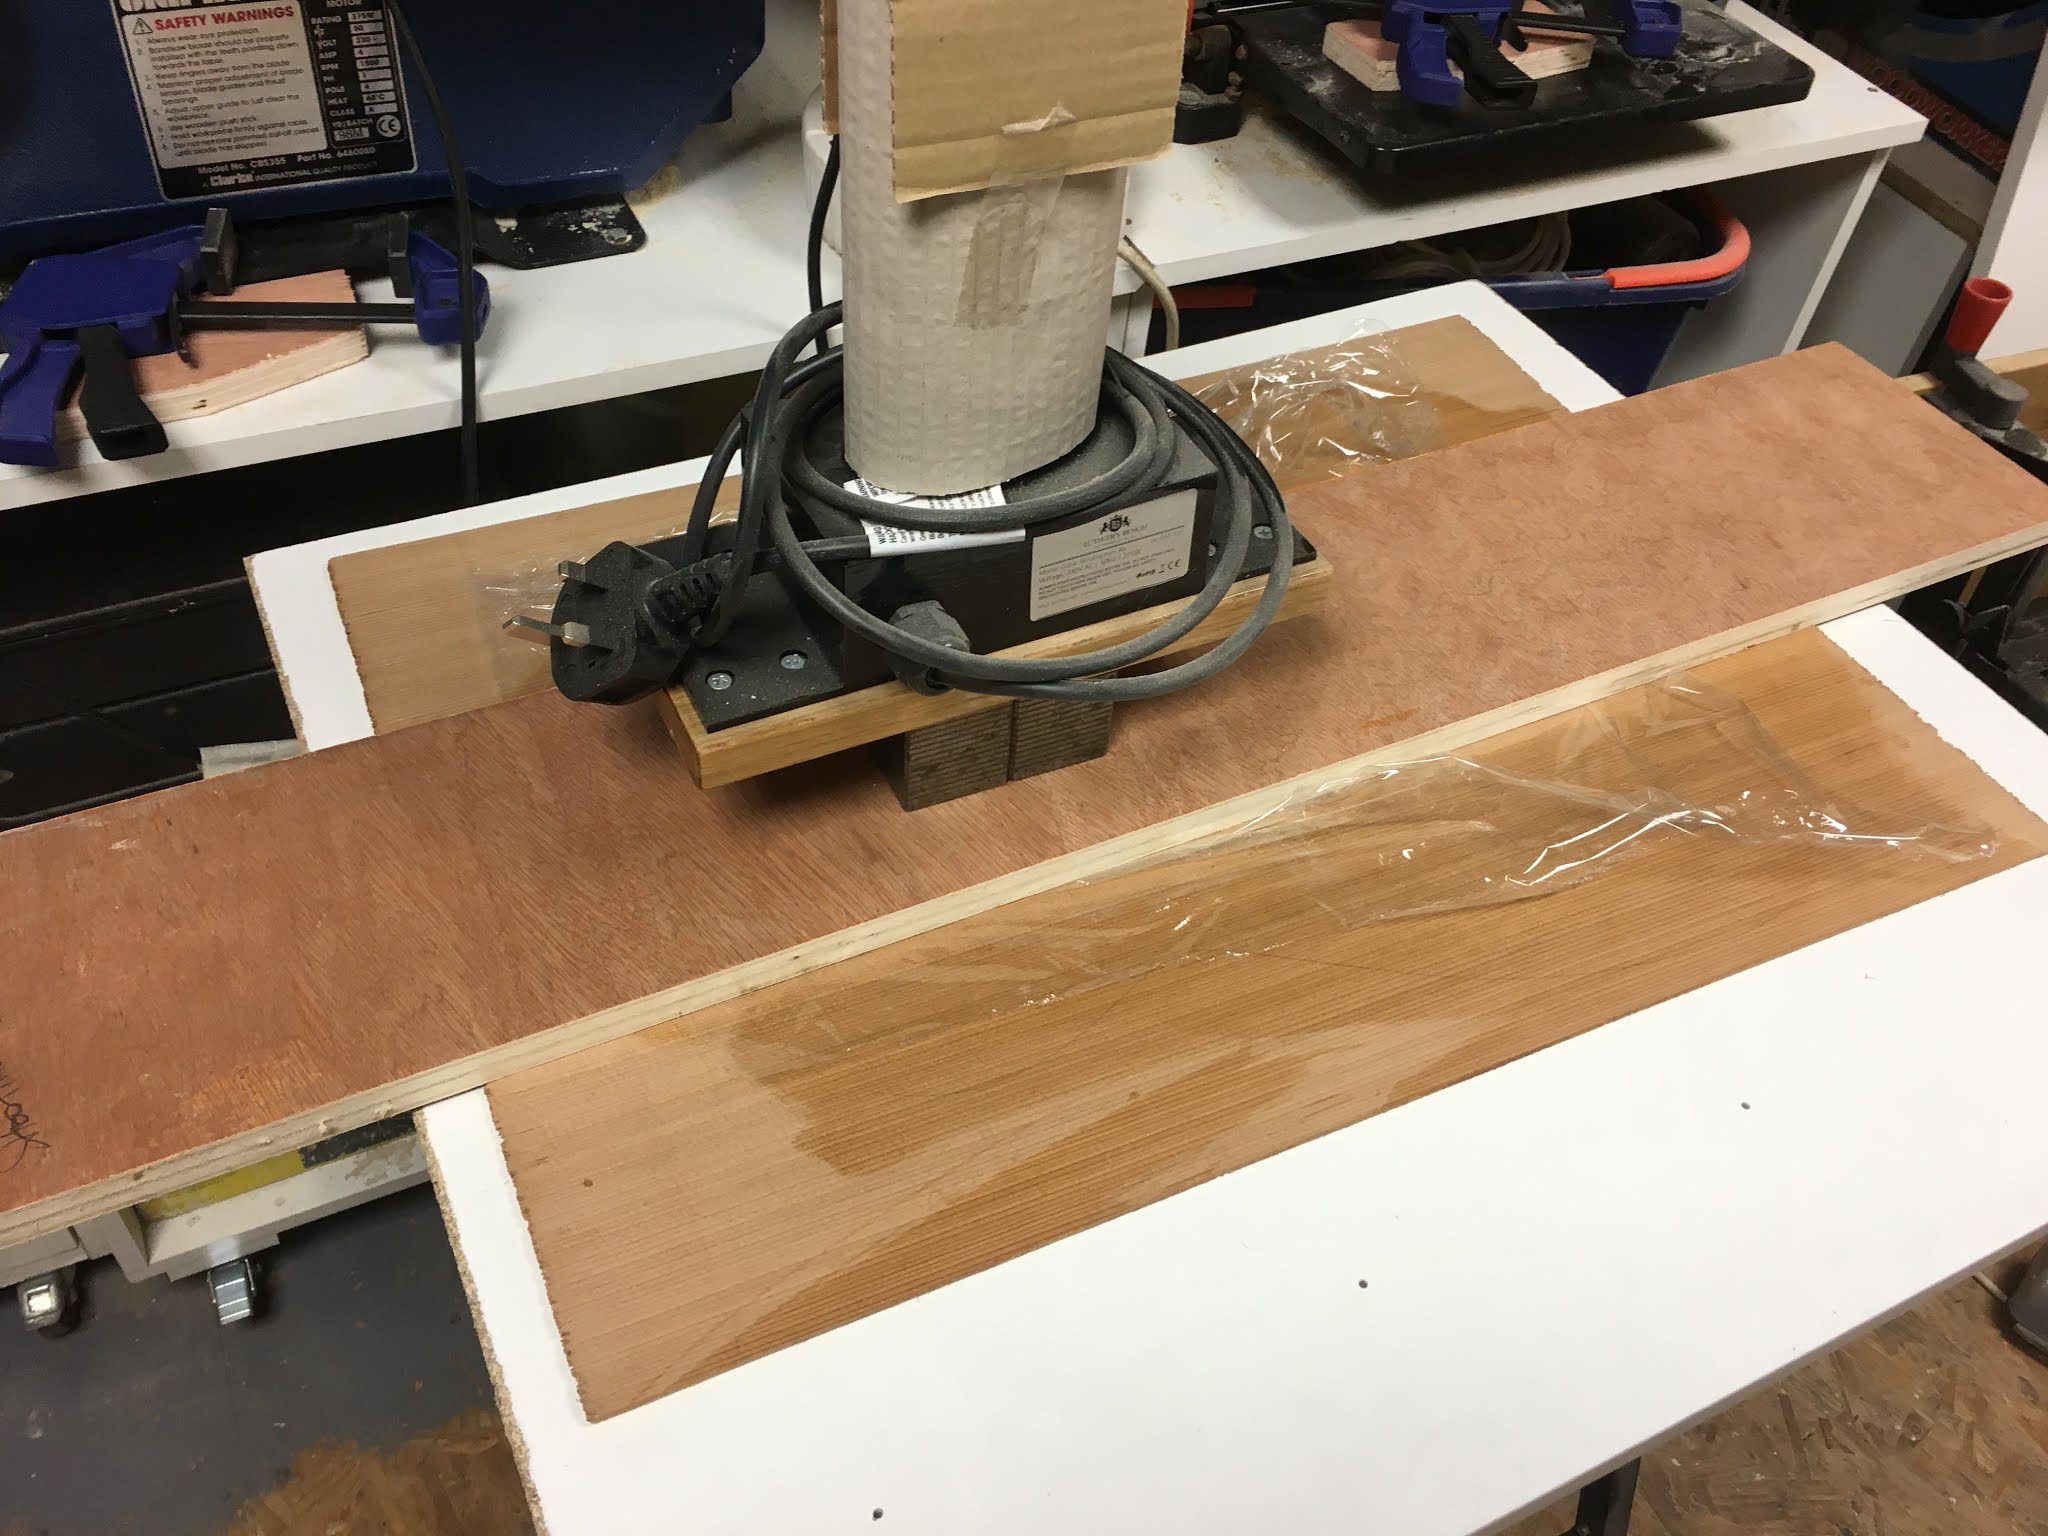
The final task for the soundboard plate was to cut it to about 5mm oversize using a fine blade on the bandsaw and, Wow!, I have a vaguely guitar shaped piece of wood.


Excellent work Noel.
ReplyDelete