
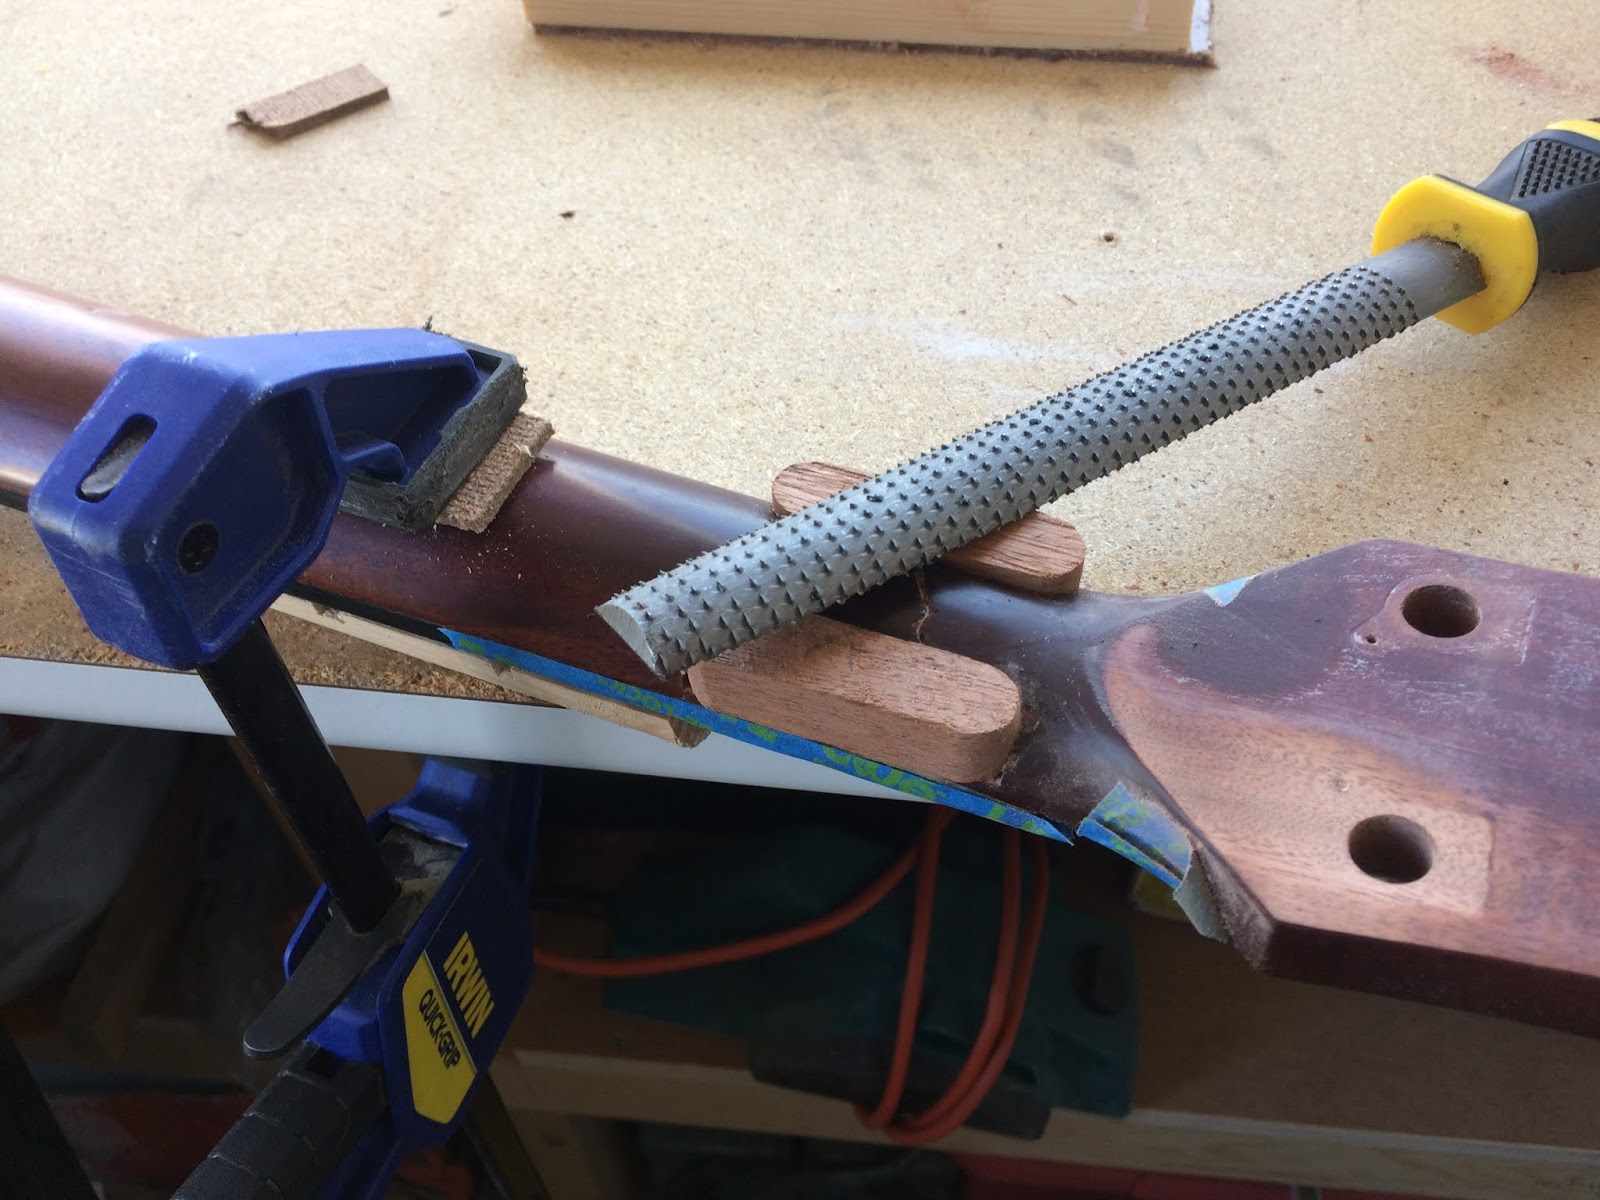
24 hours later and I could strip the clamps off again. Feeling much stronger now ☺ I used this rasp (also known as a b@st@rd file, or have I got that wrong?) to roughly get the shape down to the neck profile, then swapped to a finer file. Final smoothing with sandpaper will come after the next part of the process.


I altered the previous jig so that I could use the router again to take off a 5mm depth of wood from the back of the neck. If my calculations are correct, that should just break the surface of the truss rod channel. I got excited here and forgot to take pictures of the next part, but I actually went slightly too deep and just caught the adjuster nut, but it should be OK. It meant that I had to carve a shallow channel into the replacement wood to clear the truss rod adjuster.

Everything glued and clamped up again...


... then 24 hours later you can see here the 6mm thick piece of hardwood that I glued back in. The rough looking bits are where I made a bit of glue / sawdust filler to fill in a couple of small gaps resulting from my inadequate woodworking!

Then rasped/filed down to the rough shape again ...

... before sanding to a smooth finish with medium then fine sandpaper. I also sanded back the dark brown stain that the previous repairer had used. Ready for finishing now.

No comments:
Post a Comment