Monday 17 February 2020

The Gouzouki Project Part 1 - Strip Down and Preparation

This is a much more complex project than anything I've tried so far, but I have a high expectation for it. The aim is to spend less than £100 on materials for the conversion but end up with an instrument to be proud of.

I wouldn't even be considering this project if it wasn't for the fact that Faith guitars use a bolt-on neck so, in theory, it should be relatively easy to remove it and use as a pattern for the replacement bouzouki style neck.

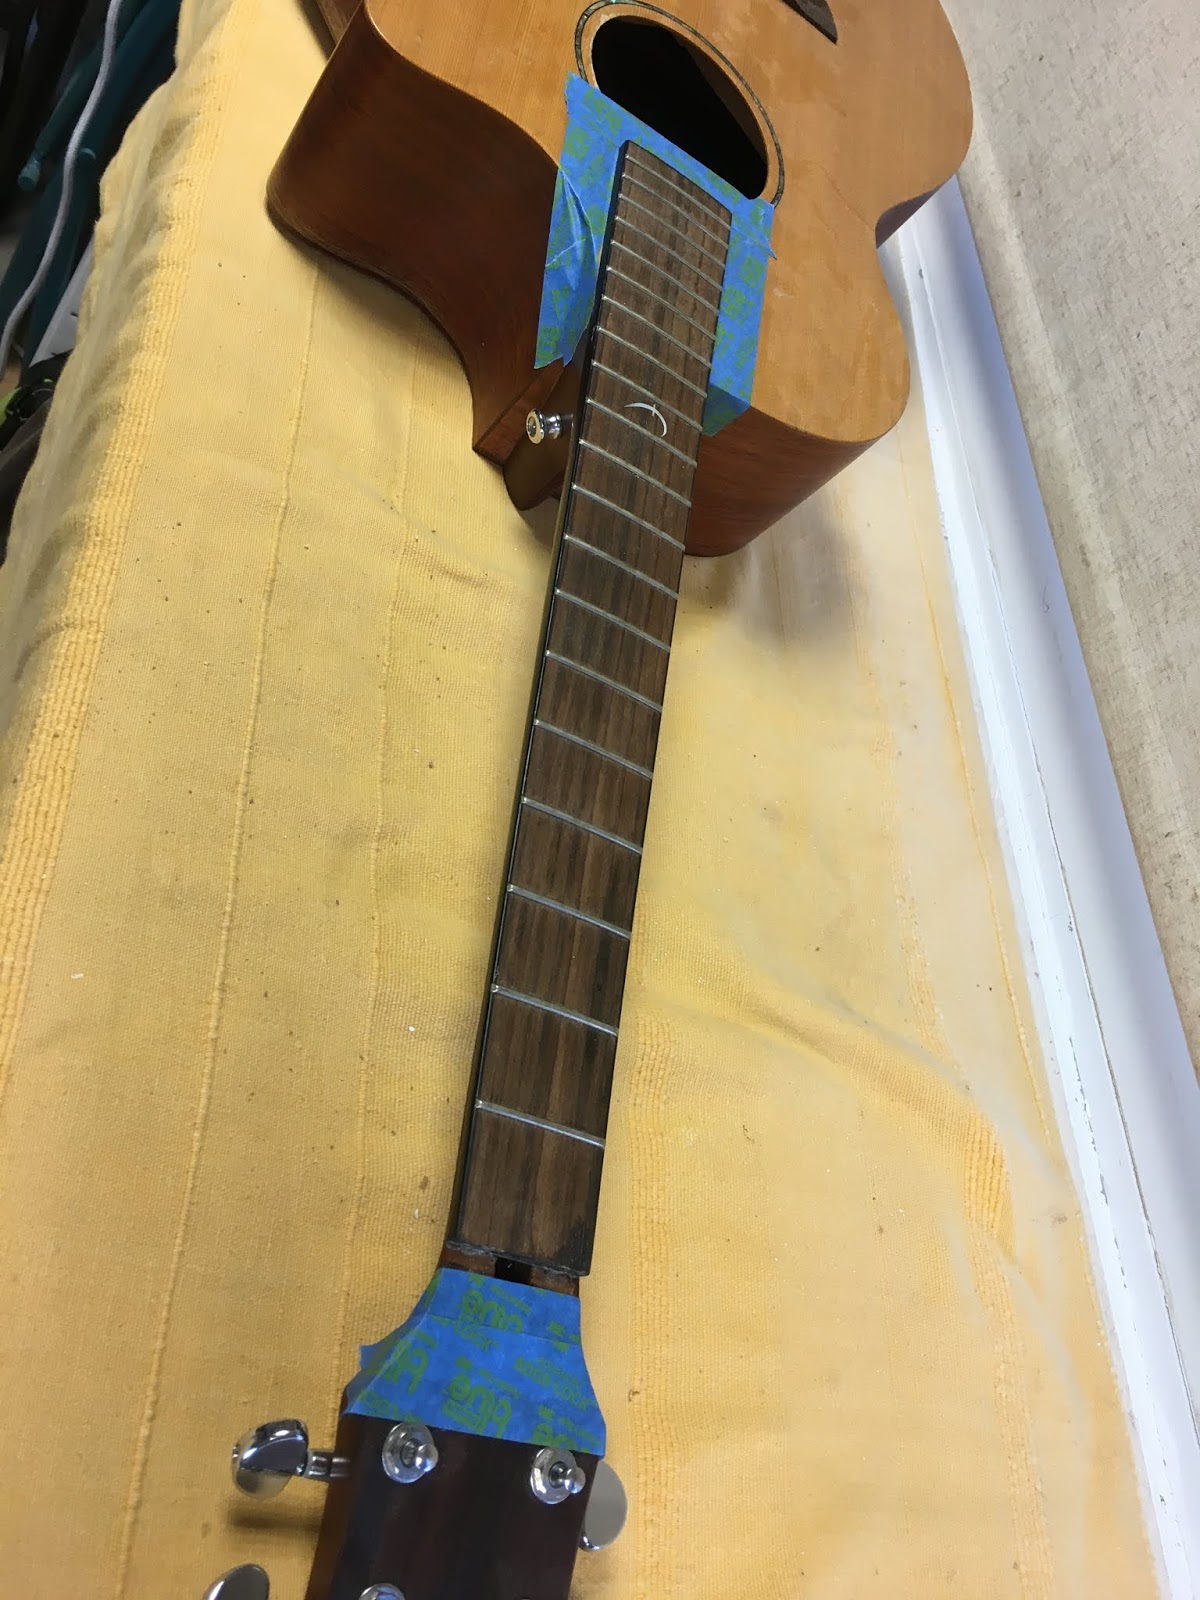
First step is to remove the strings and pegs and everything from the neck area: machine heads, nut, truss rod cover & strap button. This picture shows that the back of the head has actually been battered around a fair bit and also shows up how rough my original repair was. It just instictively feels so weak.


Then back into familiar territory by now, getting the steam iron out again to steam the fingerboard off. People at work are starting to wonder why I have mahogany coloured stripes down my shirts......

It actually put up quite a fight compared to last time, so I can take comfort that my gluing was strong 😀


This inside shot shows the 2 bolts that hold the neck on. They are hidden behind a sticker that Faith put on in the factory.

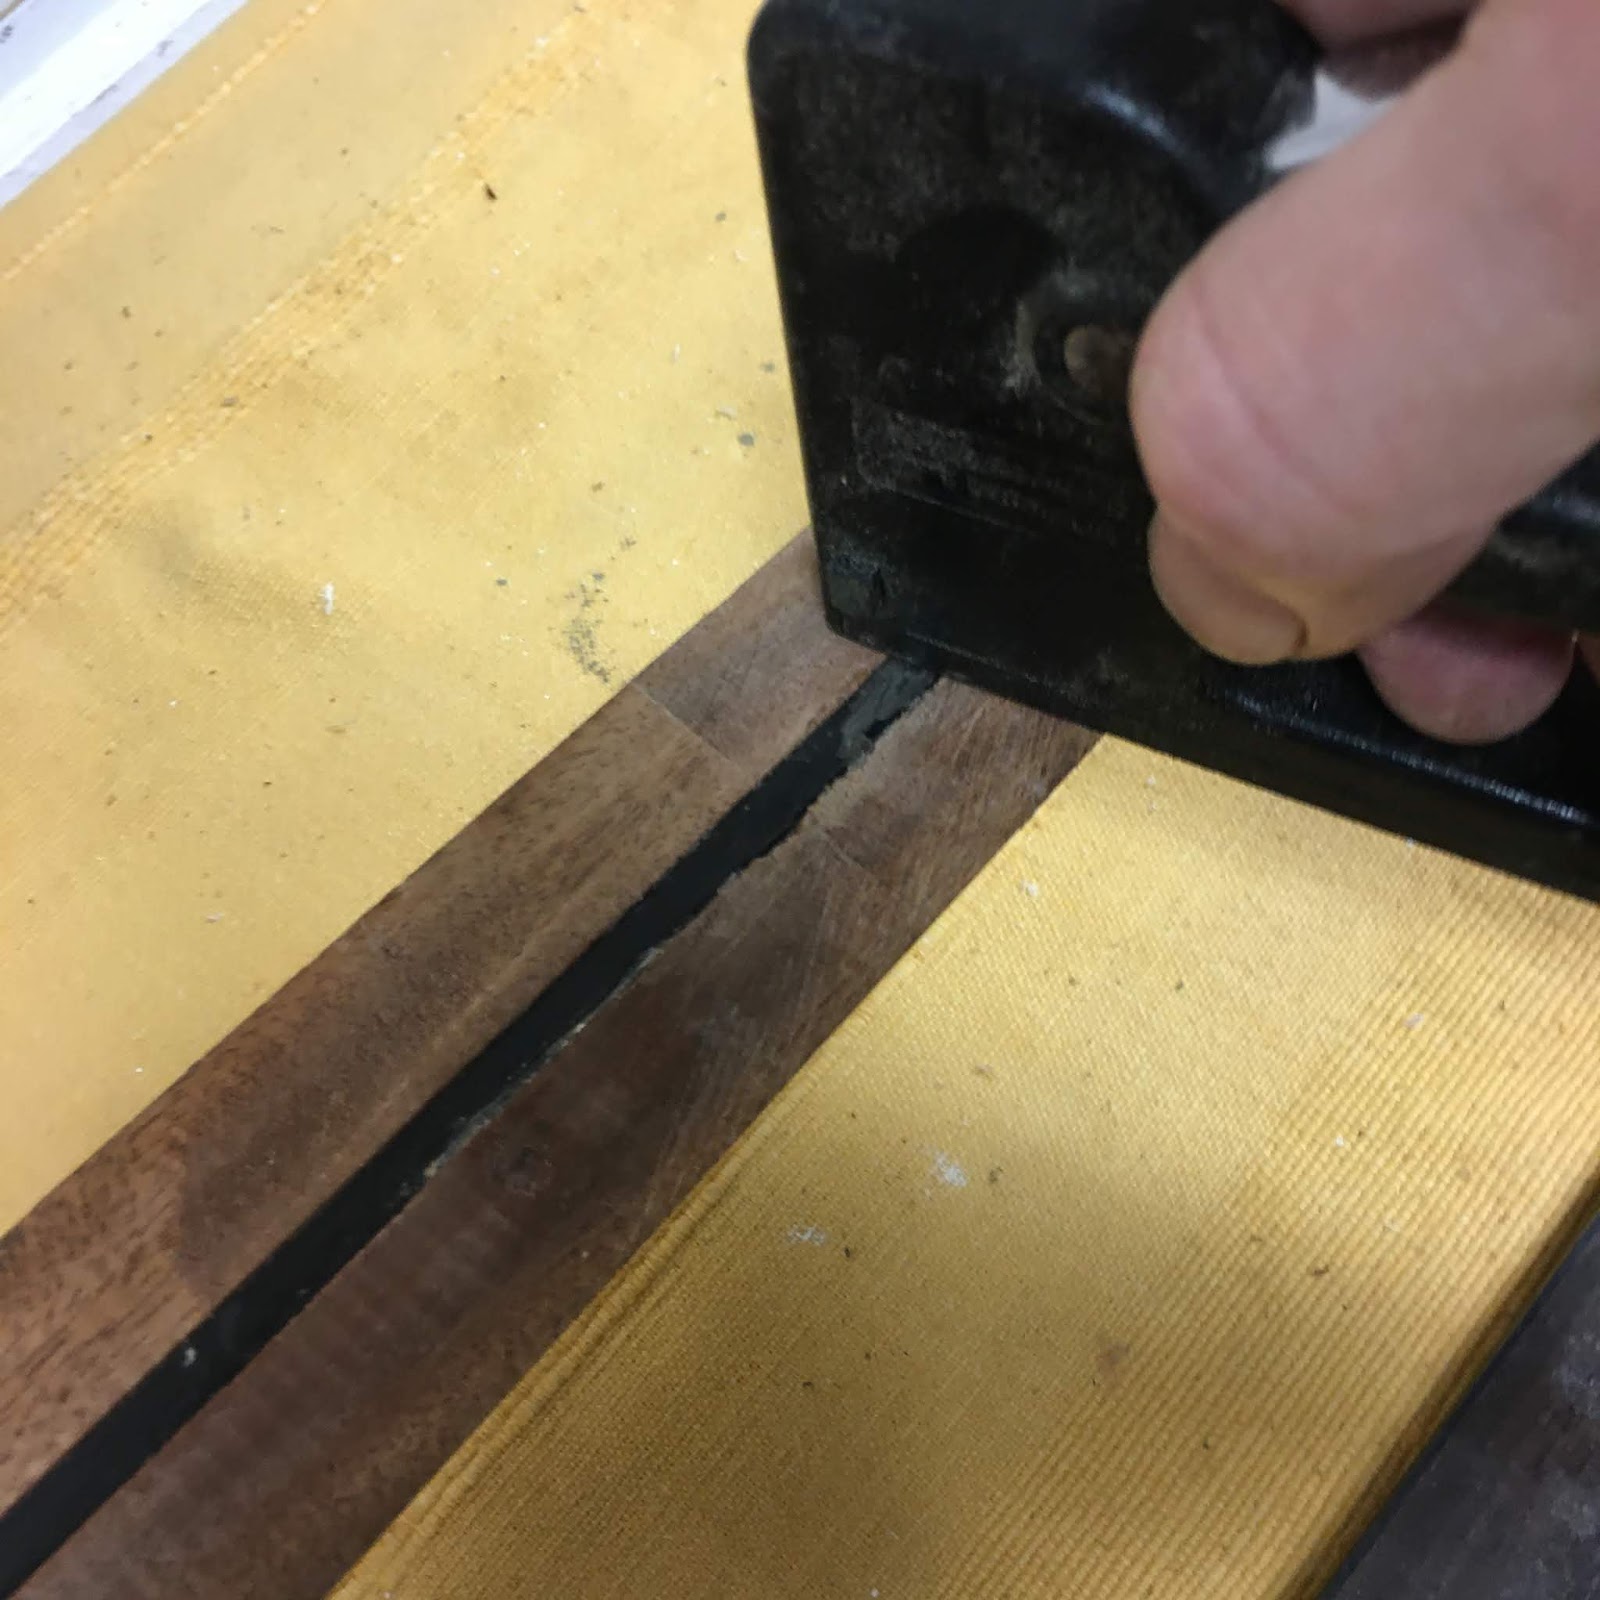
With the fingerboard off, and the bolts removed, the neck could move a little but wasn't breaking free.  It looked like there was maybe a bit of glue from the fingerboard holding this extension piece in place. I scored through it carefully with a Stanley knife.


"𝅘𝅥𝅮𝅘𝅥𝅮𝅘𝅥𝅮 I want to break free ee... 𝅘𝅥𝅮𝅘𝅥𝅮𝅘𝅥𝅮 "   Gently does it....


Once apart, you can see the mortice and tenon joint and also the two inserts in the neck which the bolts screw into.


A small piece of the soundboard broke away with the fingerboard (another lesson learned there). It glued back in OK though.


The neck joint is relatively simple, although not as perpendicular as it all looks on the face of it.


The inserts unscrewed easily from the neck using a hex key, so I can reuse these on the new neck.


This photo doesn't really show what a poor state the fingerboard is in. It should be nice and straight but is anything but that. I've decided the only way to really solve this is to install a new fingerboard as well. That will add a bit of cost but should still be within the £100 budget and also will give me a practice at another new skill needed for the scratch build. It will also give me the opportunity to take the fingerbaord down until it's flush with the soundhole and that will hide the broken piece that I had to glue back in. I'll have a think about that one.


All of the preceding photos were taken at very careful angles to not show the fact that as soon as I started to take the fingerboard off, the neck joint snapped again!! I was right when I said that it just instictively felt so weak.


So now onto making the new neck next. I have several sources showing me the theory of what I need to do and it all looks relatively achievable. We shall see.

Sunday 16 February 2020

Faith Part 3 - Introduction - Time to Get Radical!

This Faith has been great value so far to get me used to the anatomy of the guitar and some of the repair techniques, but at the end of the last project, I mentioned that the neck still wasn't 100% and I had concerns about the strength of the repair. I was leaning toward making a new neck as a practice for starting to build a guitar from scratch. 

As an aside, I've started teaching myself to play the irish bouzouki to give a bit of variety to the rhythm section of our "band" (I use the term very loosely!) and bought myself an entry level Hora (Romanion) bouzouki last year, something like this one:


It's OK, but not the most refined sound in the world.  So I started thinking that I might like to get a better bouzouki and maybe that would be a good first build project? After a bit of research, I ordered the "bible" for building bouzoukis by Australian luthier Graham McDonald, and this includes plans for a scratch built one.


Reading through the book, it mentioned various different designs, including a "guitar-bodied" bouzouki, which have the advantage of being an easier shape to play sitting down and also having a bigger body so gives a better sound projection. Essentially, this is a guitar body with a bouzouki neck, which is about 10mm narrower and has 4 pairs of strings instead of 6 single strings. Something like this:

Doesn't look too dissimilar to my Faith does it? (Can you see where this is heading?):


In a blinding flash of inspiration I decided that I could use the great all solid wood Faith body and build a new neck to suit a bouzouki instead of a guitar and bingo! I'll have my very own  guitar bodied bouzouki! Once I started googling this, I found out that it's a fairly well trodden path, but normally done by modifying the existing guitar neck, rather than building a completely new one. These are commonly known as "gouzoukis".

So the plan is:
1) strip guitar and remove fingerboard (again!)
2) remove the neck and use this as a pattern to build a new neck, but to a narrower design
3) modify the existing fingerboard to reduce the width
4) build the head plate shape to suit 8 machine heads in 4 pairs
5) include a new head veneer with a custom inlaid logo?
6) install neck and fingerboard
7) fill in the existing holes in the saddle for the 6 pegs and drill out for 8 pegs in new layout
8) make new nut and saddle from blanks to suit the new string layout
9) refinish saddle and new neck
10) answer lots of questions from people saying "what exactly IS that?"

Sunday 2 February 2020

Reglueing the Fingerboard and Reflections

Protect the truss rod with a strip of tape and then spread glue around it. AVOID CUTTING FINGERS ON SHARP BITS OF STAPLES! 😧

Then remove the tape. The glue will push out into the area next to the truss rod as it's clamped up.


Then clamp up using the special caul and clamps I made earlier, plus another clamp at the heel and one through the soundhole.


You can see from this angle that the end result is a massive improvement. The nut is a bit of an issue though - I think I have probably over trimmed it a bit while trying to rectify the kick up previously. May have to revisit this area.


Reflections:

All done for now and re-strung. this has been a massive improvement and the guitar looks better and is so much more playable now. I have used it at a couple of sessions and it sounds good. 

It's still only at 75% though and, now that I've lived with it for a couple of weeks,  I really think that I am going to build a new neck to try and get it to 95% or hopefully 100%, depending on how capable I prove to be! 

The fingerboard clamps were a success - it's a much tighter and consistent join than I managed on the Applause. It actually took longer to make the clamps and caul than it did to do the repair (which was about 2 hours)!


Removing the fingerboard and levelling the neck

Another lesson learned from the Applause project - score around the finish between soundboard and fingerboard to prevent damaging the finish when the fingerboard pops off! Then protect using masking tape.


Once the board was removed, two things were apparent:

  1. the repaired neck joint is a real mess on the underside. I think the levelling process will remove a lot of this.
  2. the previous repair (before I had it) has left loads of nasty glue residue on the top half of the neck.
Lots of work to be done in cleaning this up.


I scraped as much of the old glue off as I could from both neck and fingerboard mating surfaces. Then I used a flat sanding file to carefully sand the kick up at the nut, so it is as level as possible. Note that I left the truss rod in place while I did this. I did try to get it out but it was a very tight fit and I was worried that I would cause more damage taking it out.  


Note scrap of wood protecting the head veneer. A lot of the "bad" joint has been taken out here, and it's almost down to flat. Certainly 200% better than it was! I am a bit concerned that the neck is very thin on this model anyway and is thinner now!


You can see here how well the neck cleaned up, once all the old glue was scraped away. I fired two staples into the neck - one at the nut and one at the soundhole.Then snipped off the top part to just leave little exposed tangs. When glueing the fingerboard back on, these will stop it sliding around as it's clamped up. Thanks YouTube for that tip 😃 (Note that these tangs also make very good flesh rippers, as I found out when spreading the glue around later!)


Making the Fingerboard Clamps and Caul


The idea of making a caul is to spread the clamping load more evenly across the fingerboard when it's being glued. In the sketch below, the clamping force spreads out from the clamp at 45 degrees and you can see from the red arrows that the force is spread out over a bigger area on the left where the caul is in place, compared to on the right where the clamp is applied directly to the fingerboard.

I have just used some scraps of softwood I had lying around and cut a piece to match the size of the fingerboard, which is slightly narrower at the nut end than at the soundhole end. Maybe this was a bit over the top in hindsight, as it could have just been made to the maximum width, but I wanted to get the clamping forces as close to the edge of the fingerboard as possible.

I cut some 3mm thick cork and clued it to the underside, to protect the fingerboard.This picture shows it clamped up  while glueing.


 Next I trimmed off the excess with a stanley knife and sanded the edges flush on the belt sander.


I needed to rebate the cork so that it would press on the fingerboard and not the fret wires. So that I could draw the positions of the frets on perpendicular, I used the tapered piece of wood I had trimmed off the caul, so that I could use a square to mark off.


These next 2 pictures show the tapered neck width and also how much of a kick up there is in the neck!


Next stage is to mark the positions of the frets, then cut away the cork in each location using the mitre block to keep it all square


When this is clamped up, the forces will be applied directly to the fingerboard and not to the frets.

So, with the caul complete, I need to make the clamps that will hold it against the neck. There will be five of them and they get progressively wider as they go down the neck. This is what the finished product will look like.


Similar process as for the caul, I cut the wood to size (about 25mm square) and then clamped and glued cork to one surface.


Then I used the bandsaw to cut into 5 matching pairs.


This next photo shows the difference between shortest and longest. Not a lot and I'm not sure I'd bother if I was doing it again.


Then I marked up matching holes for the clamp bolts and drilled through each matching pair.


I used 5mm threaded rod to make the clamping bolts, and wing nuts for quick adjustment. This is what they'll look like when in place.


All together, it took an afternoon and less than £10 worth of bits and pieces, but should be a much more effective system than the 1st attempt - a reminder of how this looked: