
Another lesson learned from the Applause project - score around the finish between soundboard and fingerboard to prevent damaging the finish when the fingerboard pops off! Then protect using masking tape.

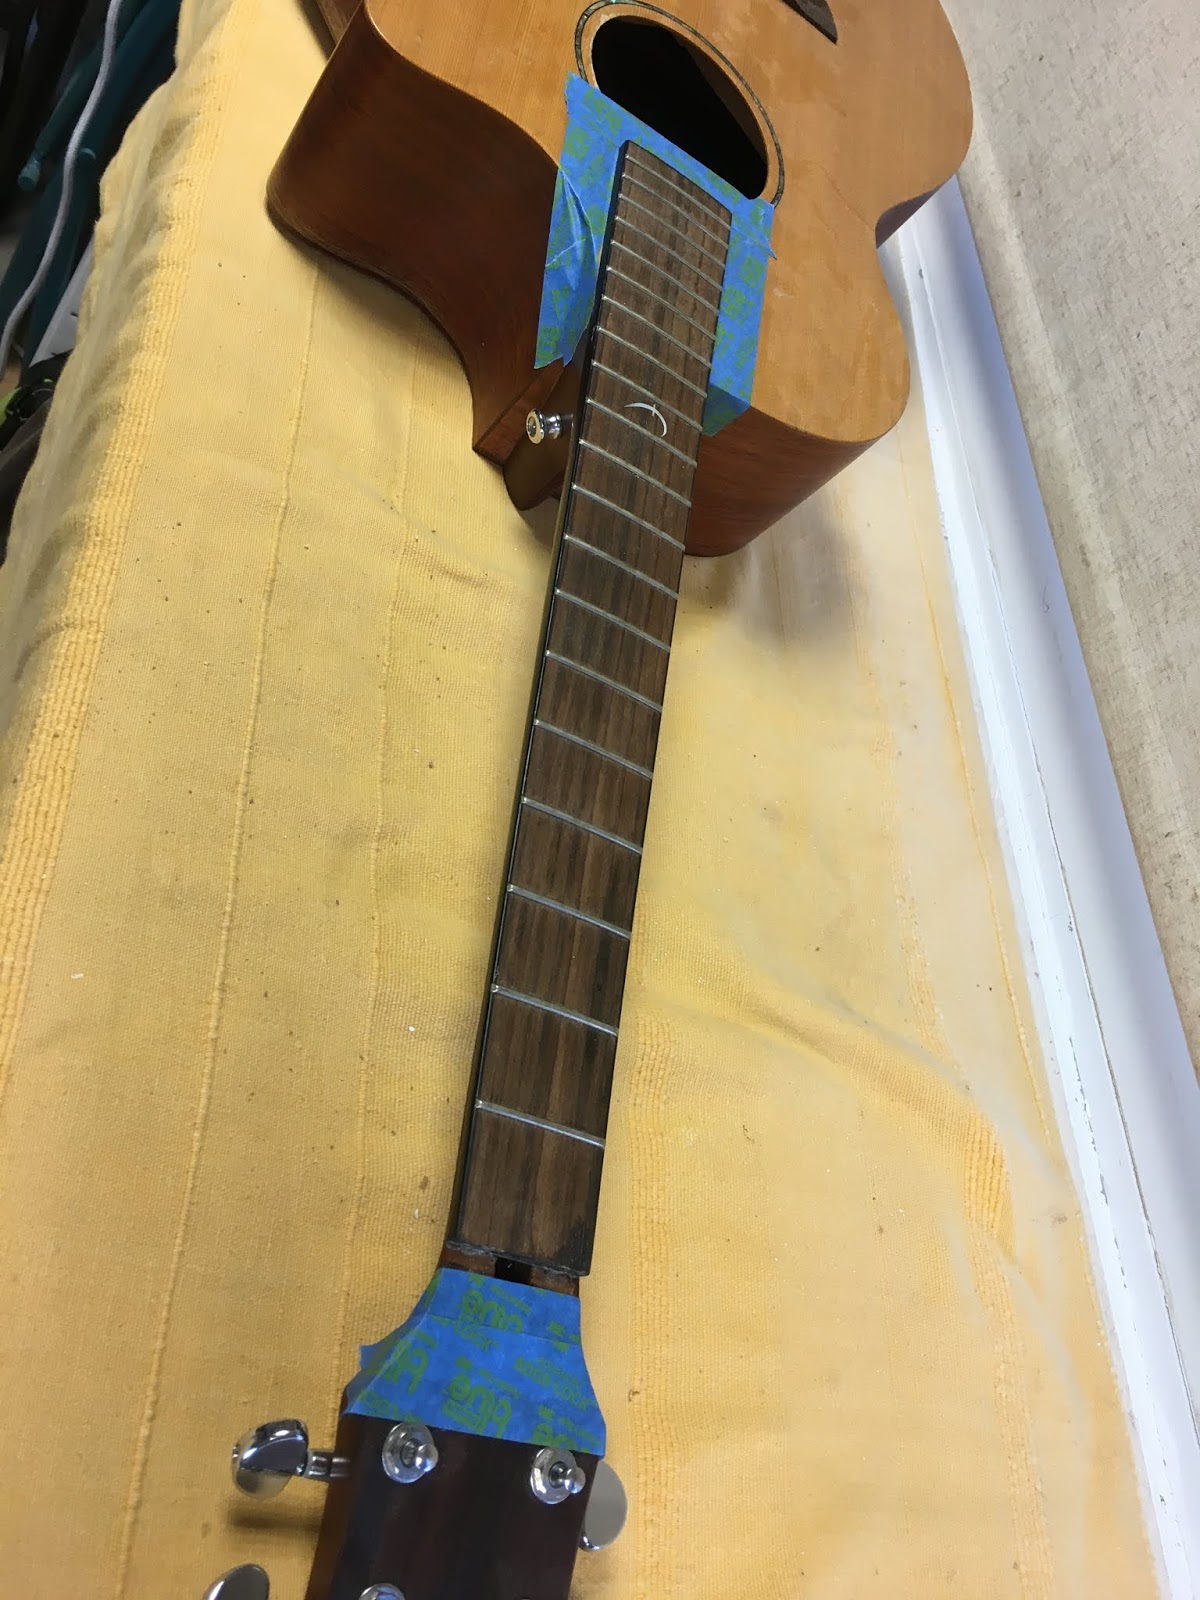
Following exactly the same process as on the Applause, I removed the fingerboard.


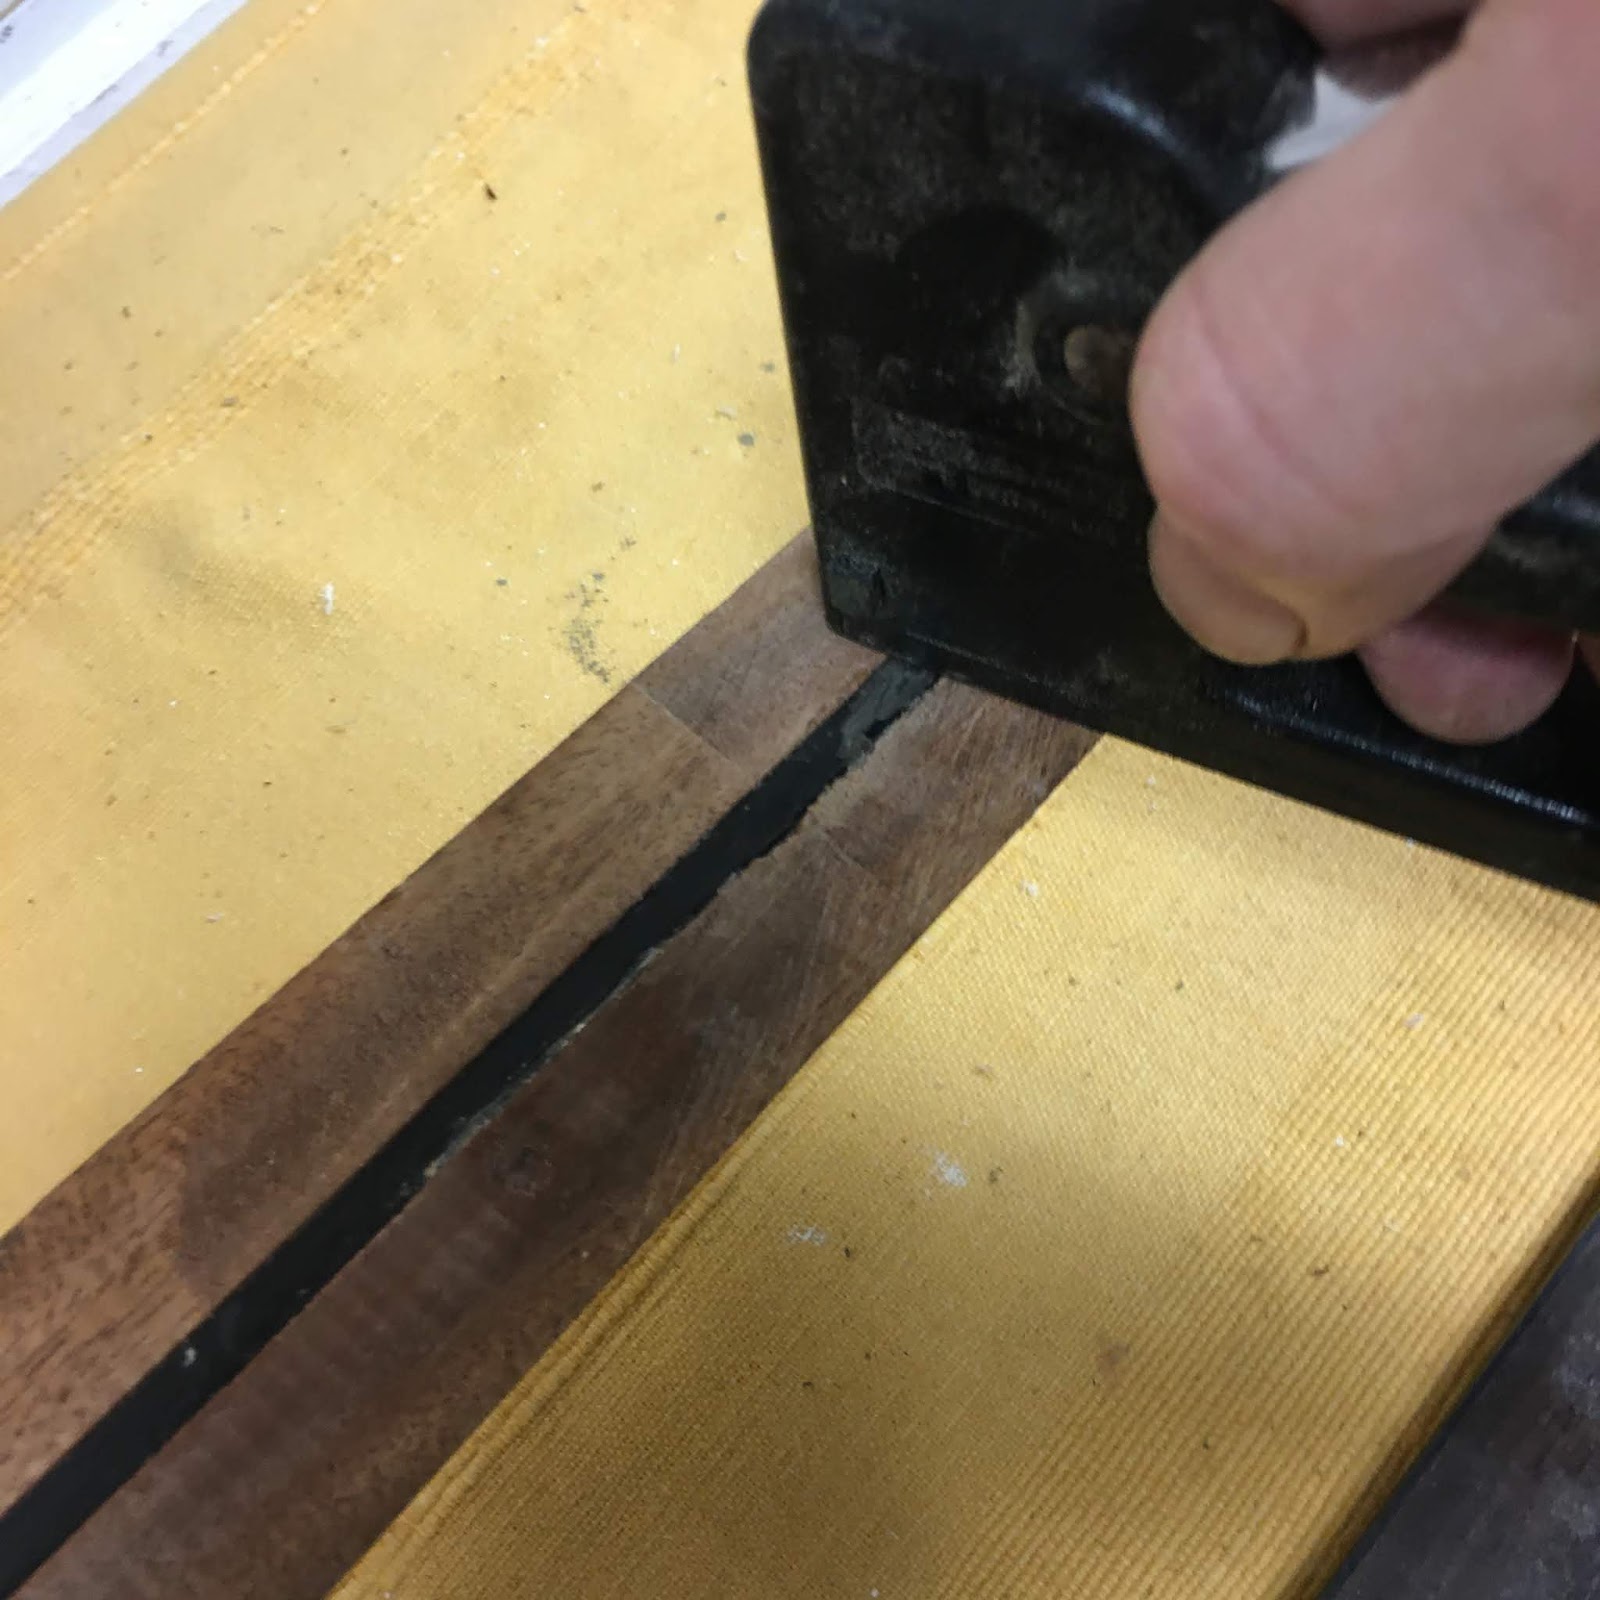
Once the board was removed, two things were apparent:
- the repaired neck joint is a real mess on the underside. I think the levelling process will remove a lot of this.
- the previous repair (before I had it) has left loads of nasty glue residue on the top half of the neck.
Lots of work to be done in cleaning this up.

I scraped as much of the old glue off as I could from both neck and fingerboard mating surfaces. Then I used a flat sanding file to carefully sand the kick up at the nut, so it is as level as possible. Note that I left the truss rod in place while I did this. I did try to get it out but it was a very tight fit and I was worried that I would cause more damage taking it out.


Note scrap of wood protecting the head veneer. A lot of the "bad" joint has been taken out here, and it's almost down to flat. Certainly 200% better than it was! I am a bit concerned that the neck is very thin on this model anyway and is thinner now!


You can see here how well the neck cleaned up, once all the old glue was scraped away. I fired two staples into the neck - one at the nut and one at the soundhole.Then snipped off the top part to just leave little exposed tangs. When glueing the fingerboard back on, these will stop it sliding around as it's clamped up. Thanks YouTube for that tip 😃 (Note that these tangs also make very good flesh rippers, as I found out when spreading the glue around later!)


No comments:
Post a Comment