I had originally intended adapting the original Faith fingerboard but, when I removed it, I realised that it really wasn't in good enough condition. To be fair, I've steamed it off twice, plus it had already had one neck repair attempt before that, so not surprising that it was a bit out of shape.
So I had bought a rosewood blank to make a new fingerboard. I could have bought a pre-slotted fingerboard, but decided that I should build from scratch to have a practice. The scale length of the gouzouki will be the same as the original guitar, so all of the fret spacings will be copied from that.
I did decide to re-use the original frets though as a) they had very little wear, b) I would have to level and re-profile new frets anyway, and c) the new neck is narrower than the original so I knew they would be wide enough.
Removing the frets was just a case of getting a sharp chisel undermeath and gently easing them out. The last photo shows the difference in neck width.
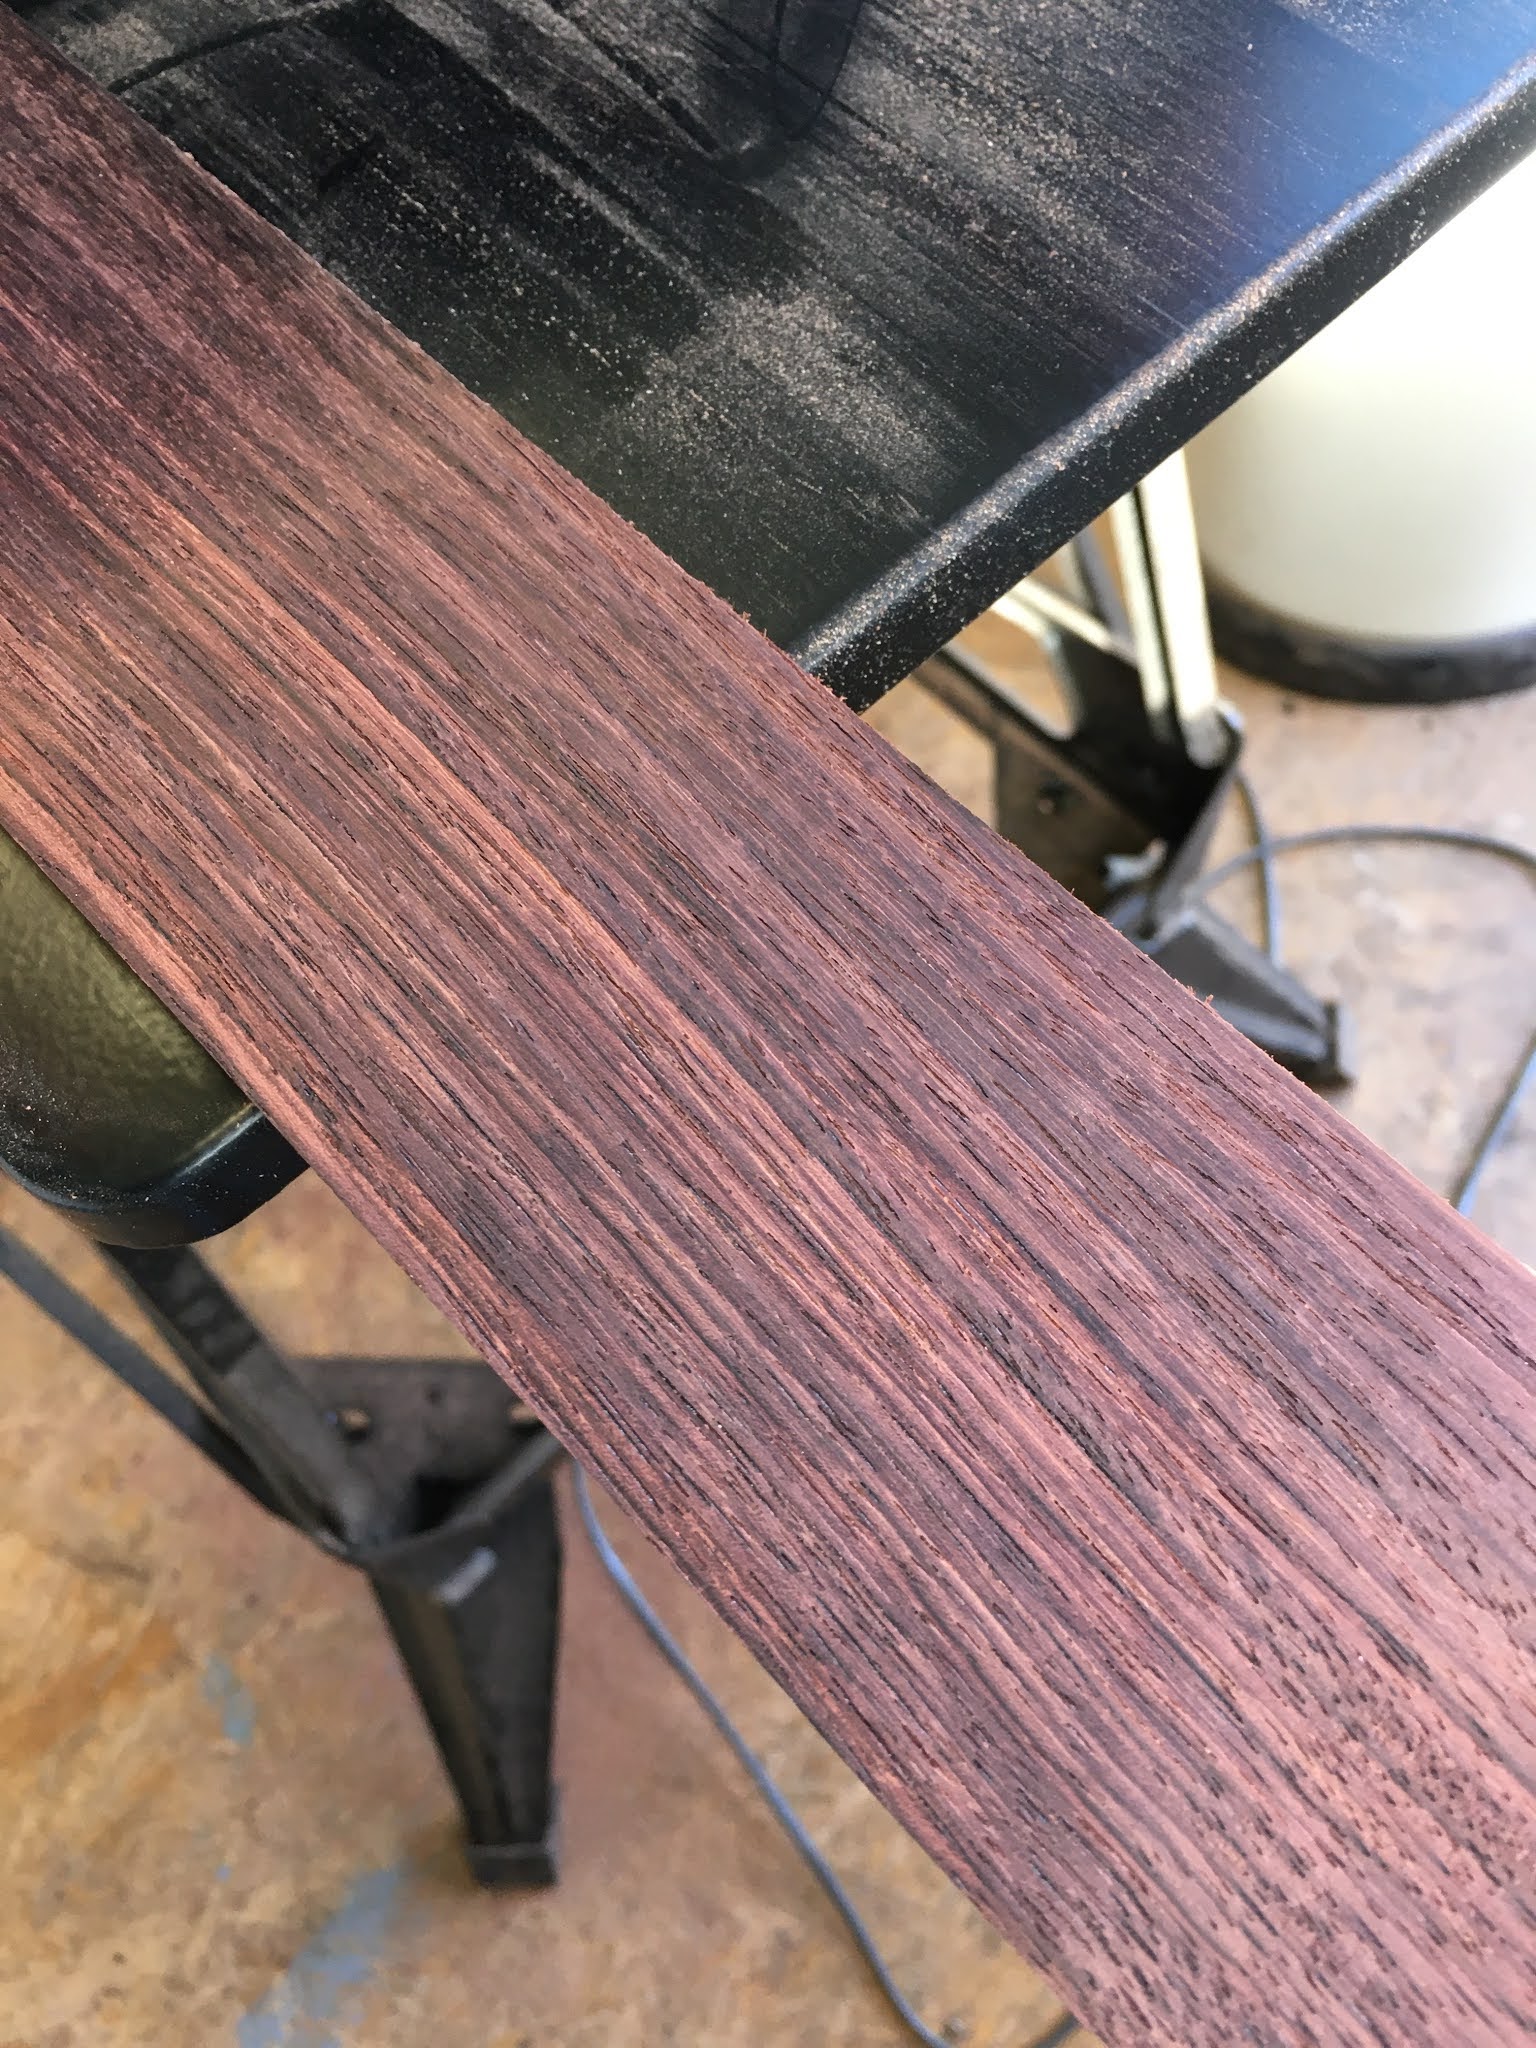
Now to make the new fingerboard, the first stage was to put the blank through the thicknesser and bring it down to the correct thickness. This really brought the grain pattern out nicely. Before and after shown below.
Then I planed one edge straight and square to use as the reference edge.
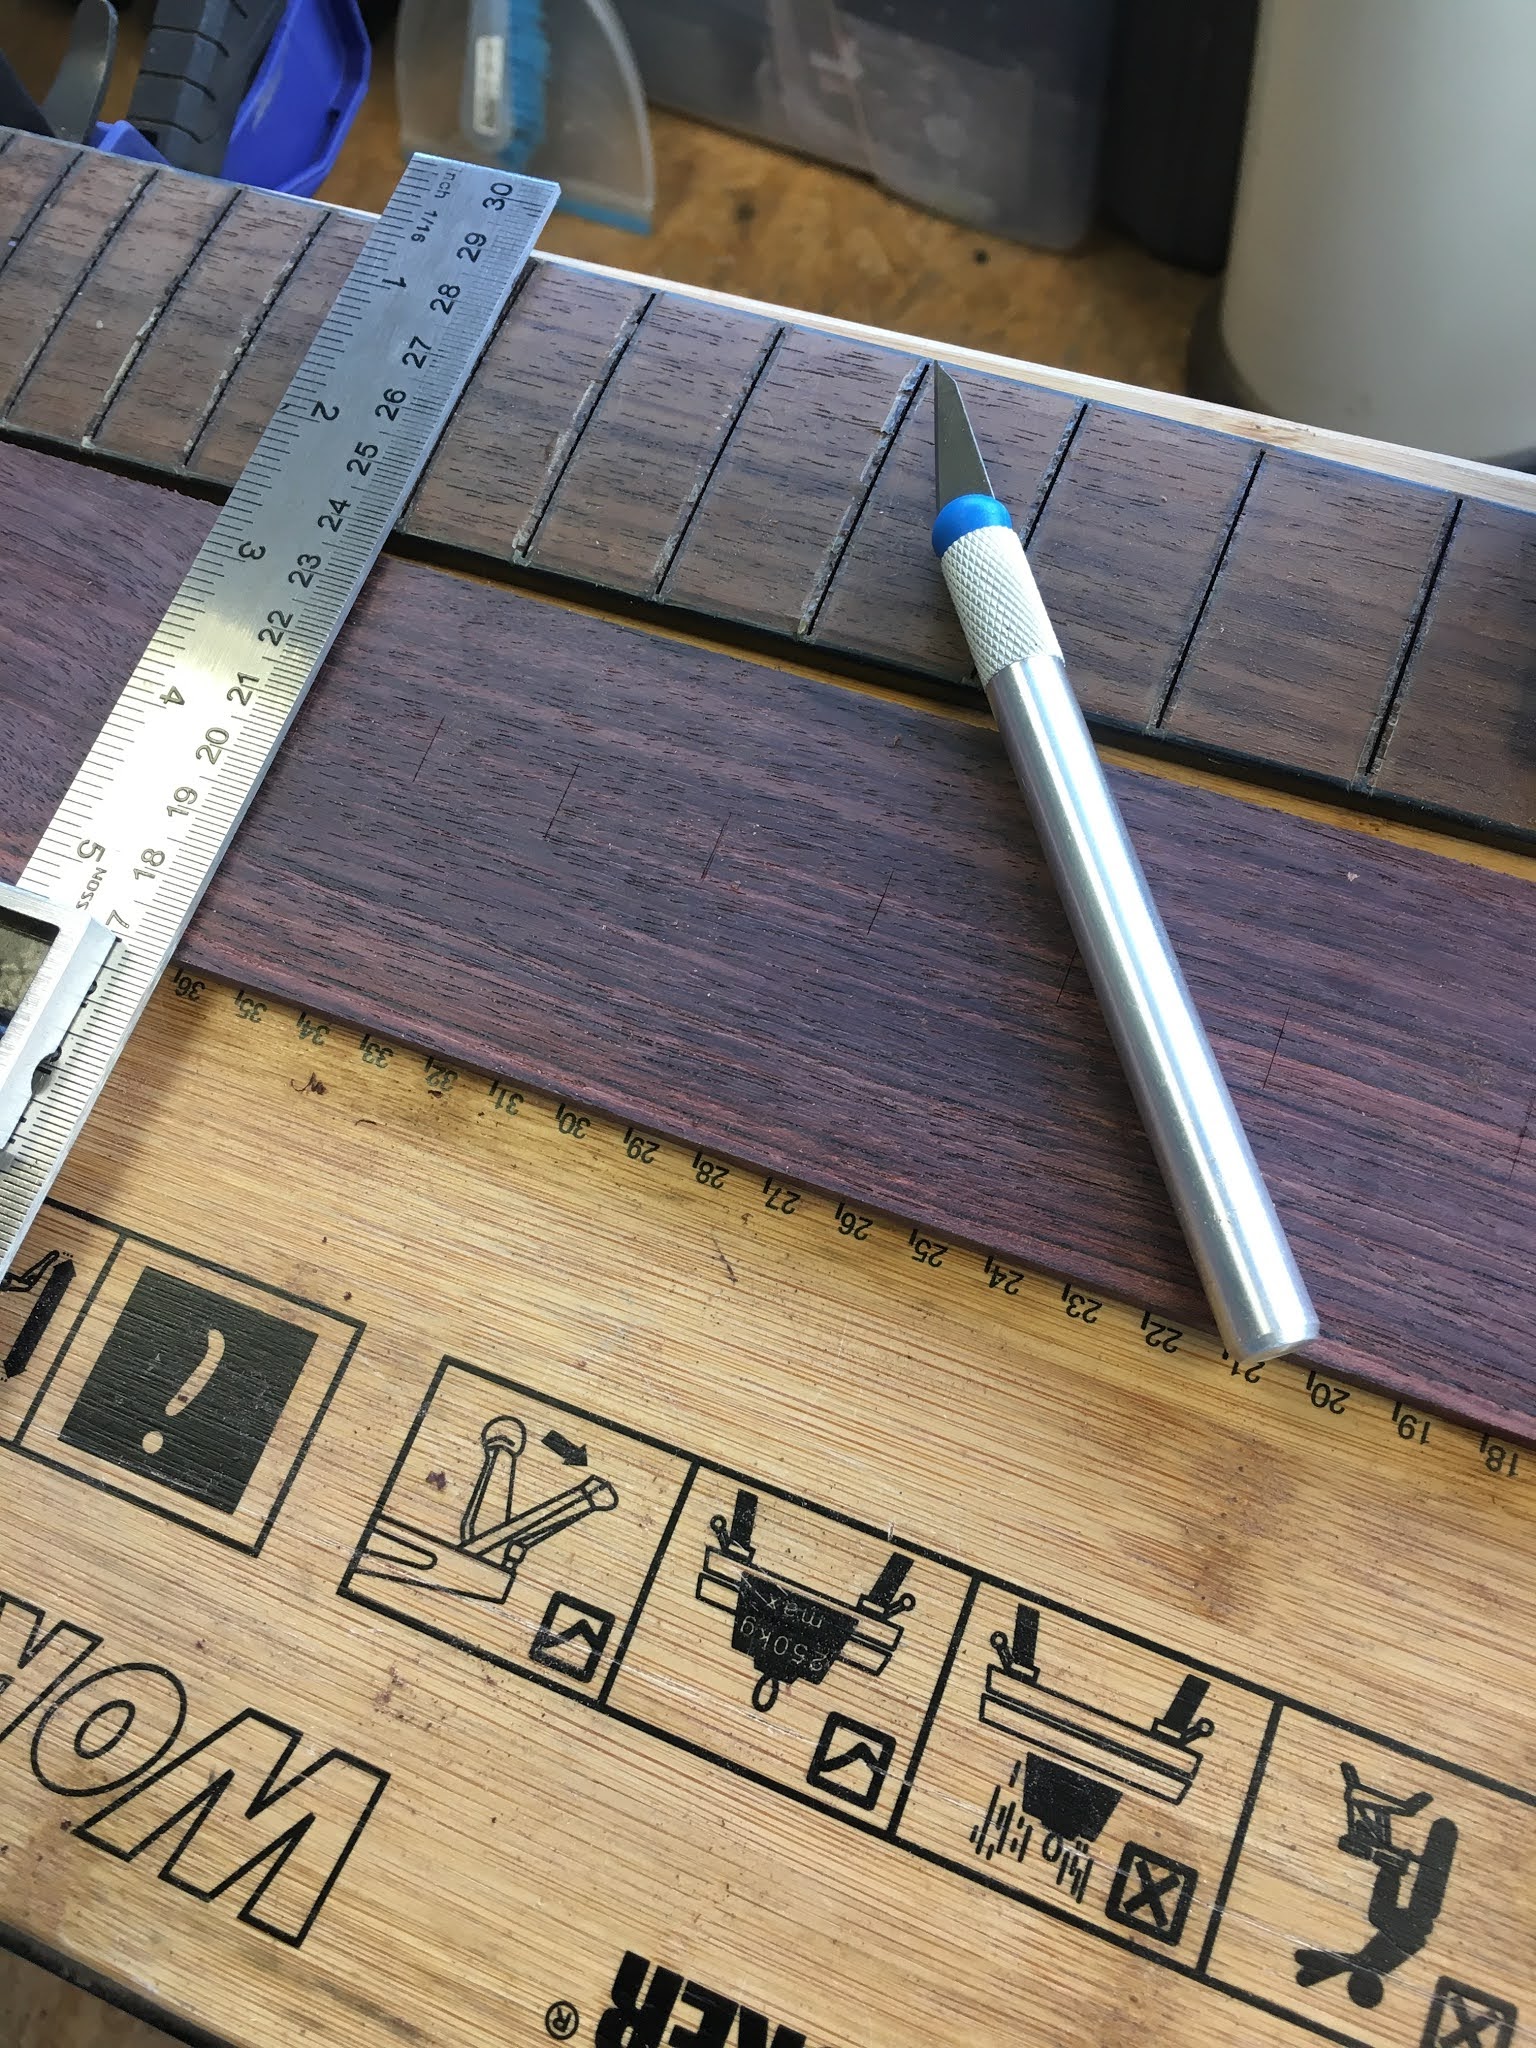
I clamped the old and new fingerboards to the bench, ensuring that the existing fret slots were pependicular to the new board and then used a square and a sharp craft knite to transfer each fret position across to the centre of the new board.
Then I used a small engineer's square to mark off the fret positions against the reference edge.
Time to introduce another new tool! The fret slots really need to be cut to a very precise width and depth, so I invested in a specialist fret saw with an adjustable depth gauge. I cut the slots VERY carefully, using the square as a "fence" to start.
I love that point where you have made someting and it starts to look "proper", as if you had bought it ready made from someone!
Laying the new fretboard on the guitar, I carefully marked out the shape. It's more complicated than either a guitar or a bouzouki, which would both have straight, tapering edges. Because I am converting this, it needs to transition from a bouzouki width in the neck to a guitar width on the body (otherwise you would be able to see the unfinished body alongside the fretboard on the guitar). You can see the transition clearly on the photo below.
Then off to the bandsaw and, with some careful sanding after, I took the shape down to a fraction outside the finished size. That will allow me to sand back the neck and fingerboard to get a smooth finish at the boundary between the two.
You can also see here that I extended the fingerboard down to meet the soundhole and finished it in a matching curve, which was to cover a piece of the top that had been damaged.
I'm pretty pleased with how that shape worked out to be honest. I spent a lot of time thinking that one through and pretty sure I came up with the best design compromise.
Now down a well practised part of glueing the fingerboard to the neck, using the clamps I made ages ago. This has been well covered in a previous blog here.
Now it is definitely starting to look like a proper instrument again!


No comments:
Post a Comment