Sunday, 2 February 2020

Reglueing the Fingerboard and Reflections

Protect the truss rod with a strip of tape and then spread glue around it. AVOID CUTTING FINGERS ON SHARP BITS OF STAPLES! 😧

Then remove the tape. The glue will push out into the area next to the truss rod as it's clamped up.


Then clamp up using the special caul and clamps I made earlier, plus another clamp at the heel and one through the soundhole.


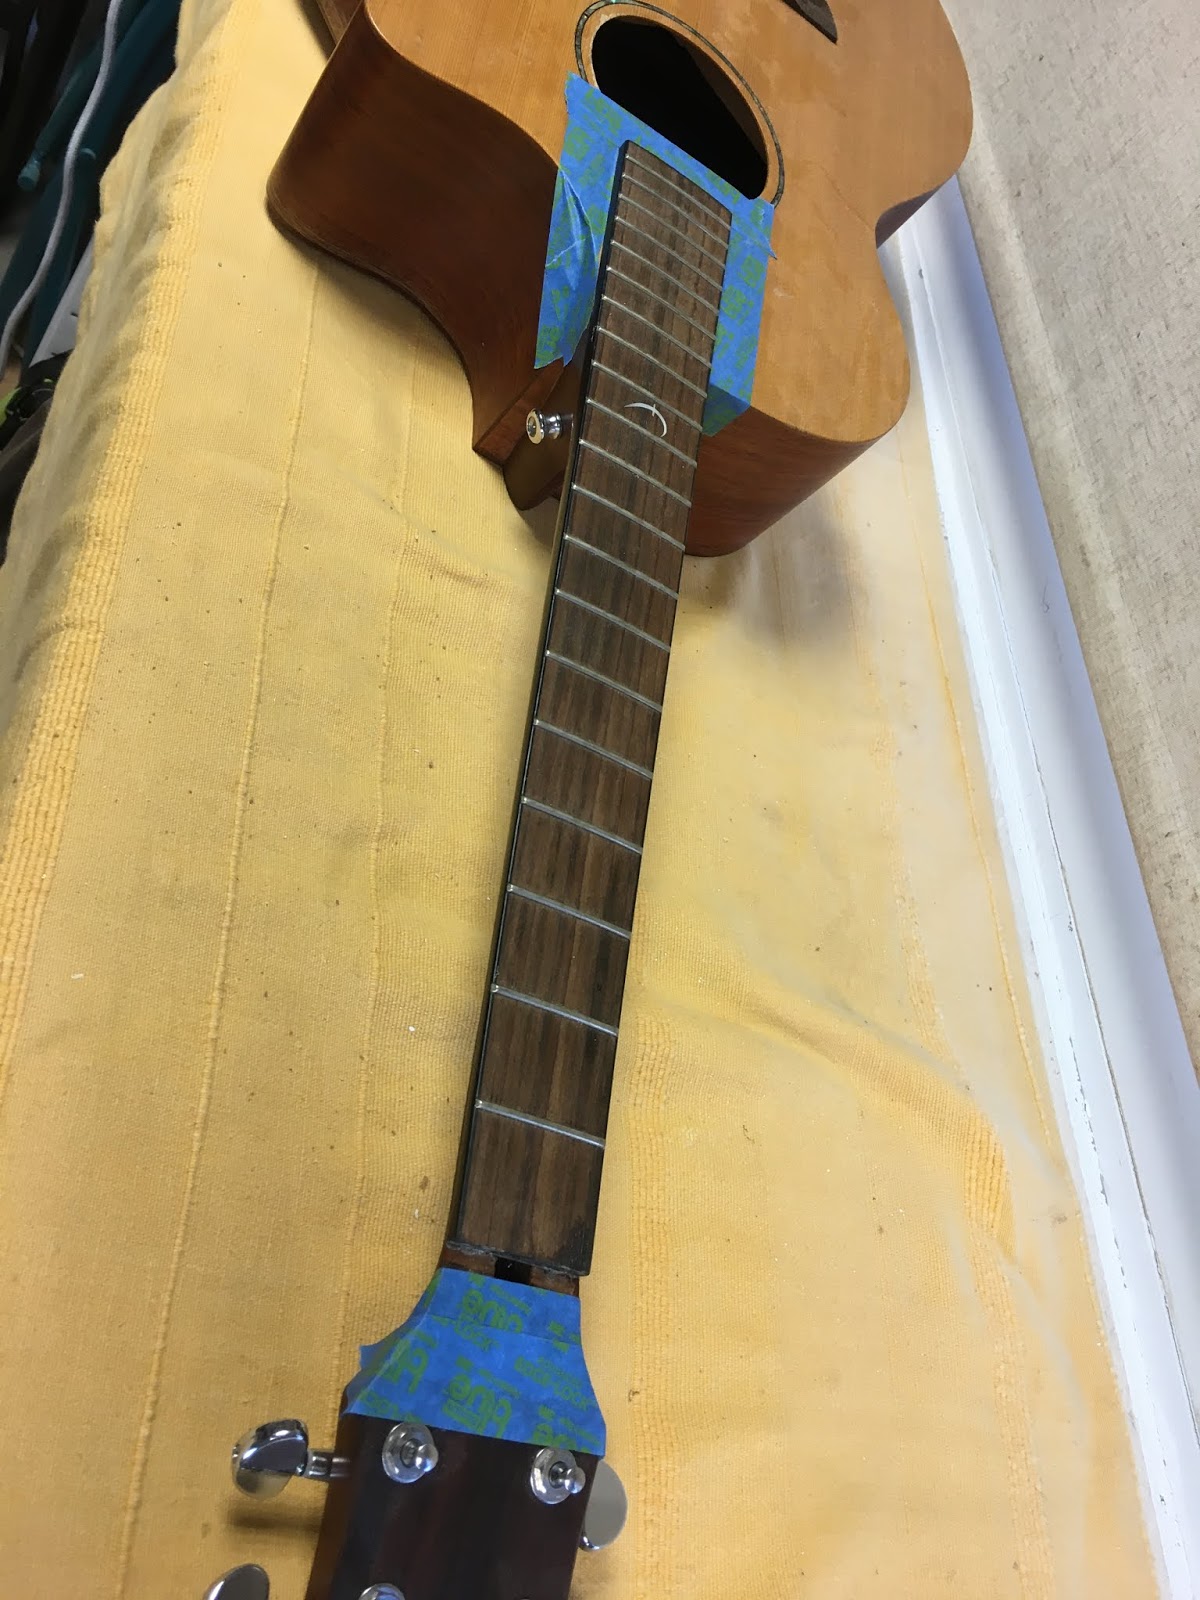
You can see from this angle that the end result is a massive improvement. The nut is a bit of an issue though - I think I have probably over trimmed it a bit while trying to rectify the kick up previously. May have to revisit this area.


Reflections:

All done for now and re-strung. this has been a massive improvement and the guitar looks better and is so much more playable now. I have used it at a couple of sessions and it sounds good. 

It's still only at 75% though and, now that I've lived with it for a couple of weeks,  I really think that I am going to build a new neck to try and get it to 95% or hopefully 100%, depending on how capable I prove to be! 

The fingerboard clamps were a success - it's a much tighter and consistent join than I managed on the Applause. It actually took longer to make the clamps and caul than it did to do the repair (which was about 2 hours)!


Removing the fingerboard and levelling the neck

Another lesson learned from the Applause project - score around the finish between soundboard and fingerboard to prevent damaging the finish when the fingerboard pops off! Then protect using masking tape.


Once the board was removed, two things were apparent:

  1. the repaired neck joint is a real mess on the underside. I think the levelling process will remove a lot of this.
  2. the previous repair (before I had it) has left loads of nasty glue residue on the top half of the neck.
Lots of work to be done in cleaning this up.


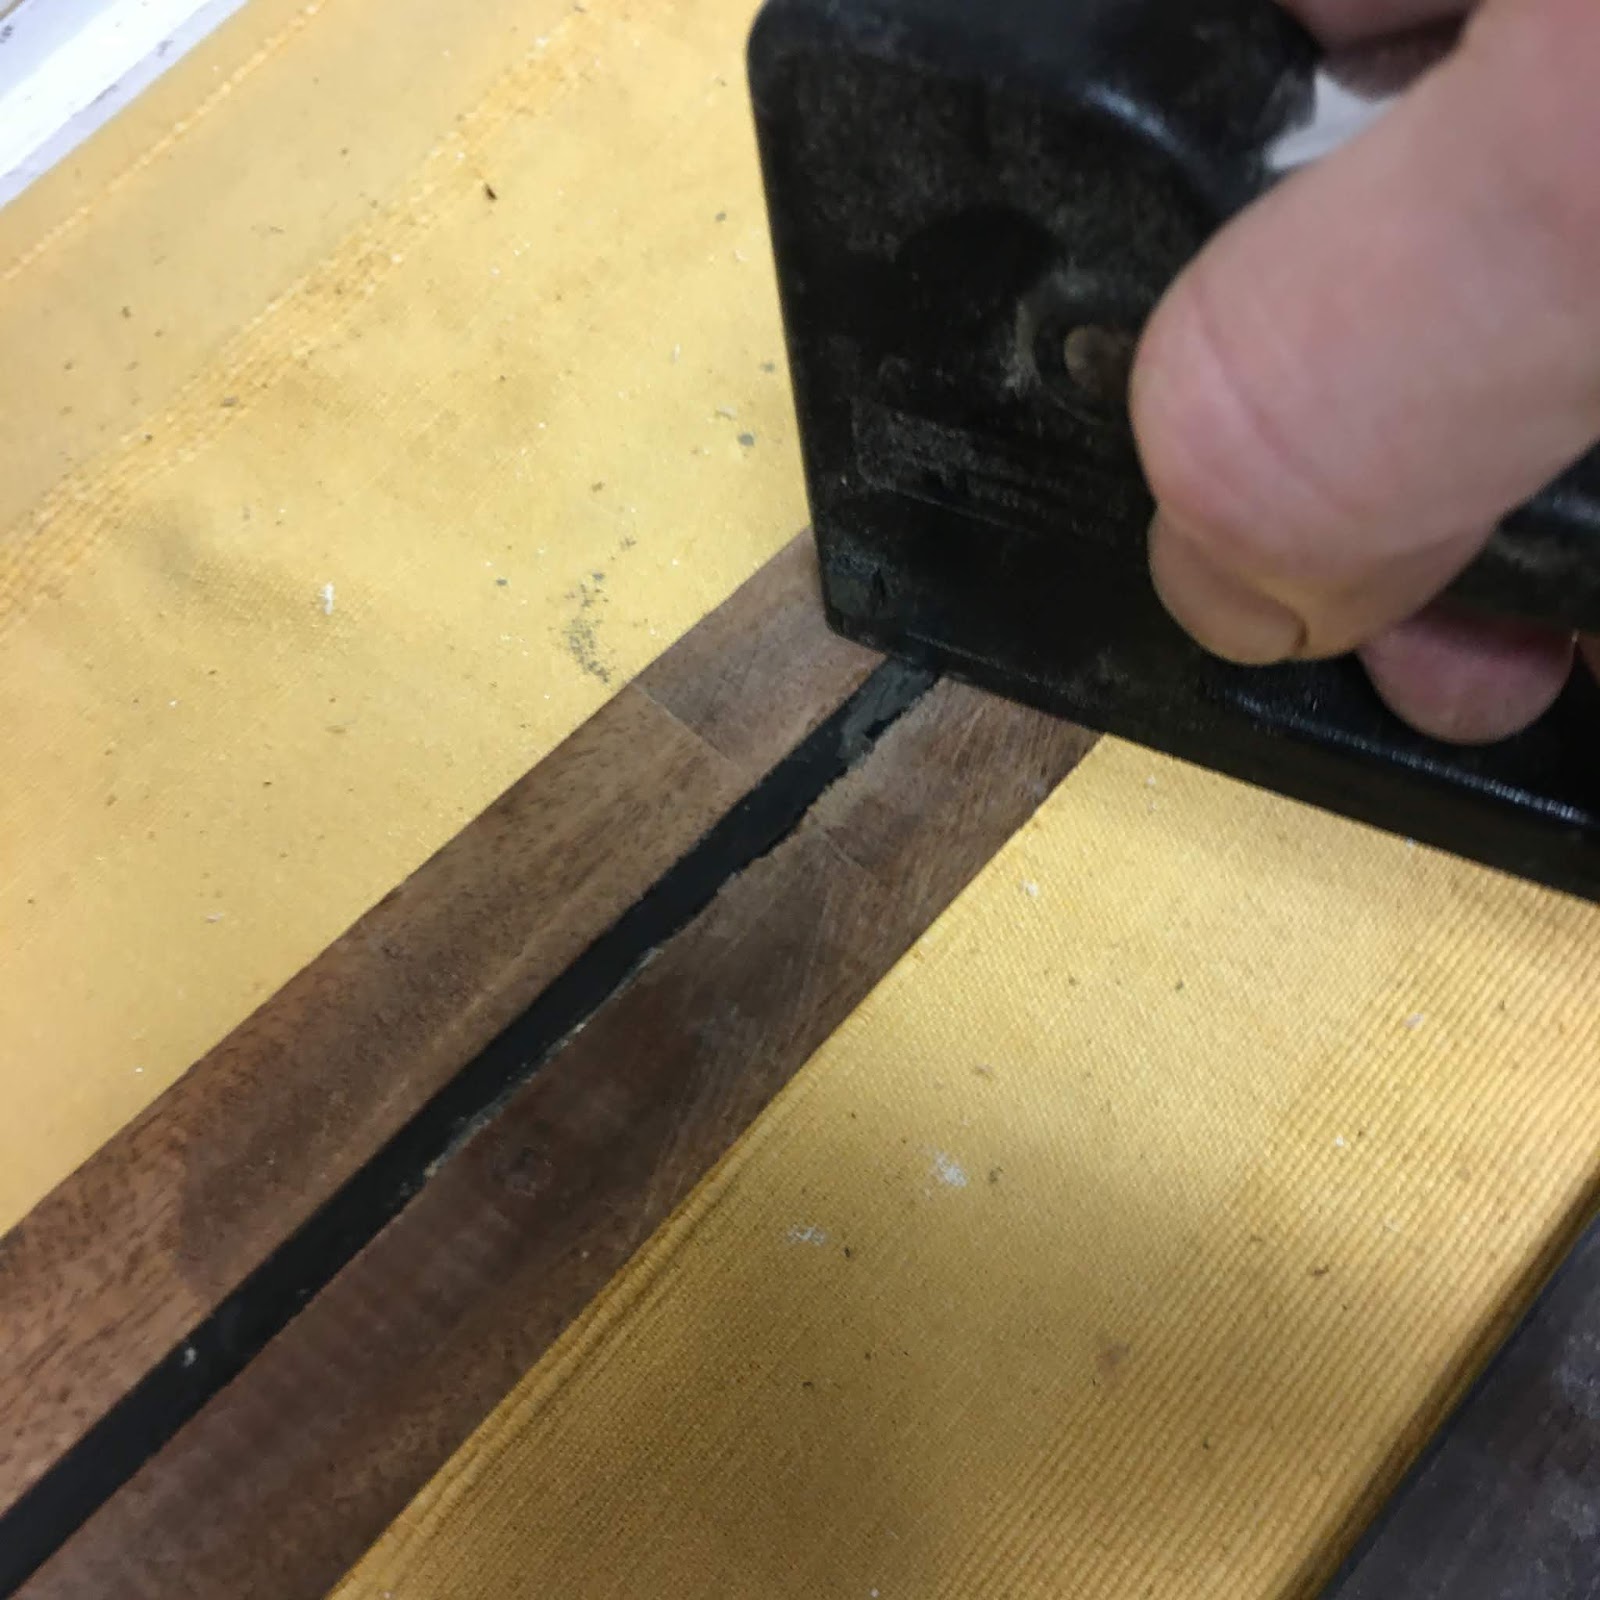
I scraped as much of the old glue off as I could from both neck and fingerboard mating surfaces. Then I used a flat sanding file to carefully sand the kick up at the nut, so it is as level as possible. Note that I left the truss rod in place while I did this. I did try to get it out but it was a very tight fit and I was worried that I would cause more damage taking it out.  


Note scrap of wood protecting the head veneer. A lot of the "bad" joint has been taken out here, and it's almost down to flat. Certainly 200% better than it was! I am a bit concerned that the neck is very thin on this model anyway and is thinner now!


You can see here how well the neck cleaned up, once all the old glue was scraped away. I fired two staples into the neck - one at the nut and one at the soundhole.Then snipped off the top part to just leave little exposed tangs. When glueing the fingerboard back on, these will stop it sliding around as it's clamped up. Thanks YouTube for that tip 😃 (Note that these tangs also make very good flesh rippers, as I found out when spreading the glue around later!)


Making the Fingerboard Clamps and Caul


The idea of making a caul is to spread the clamping load more evenly across the fingerboard when it's being glued. In the sketch below, the clamping force spreads out from the clamp at 45 degrees and you can see from the red arrows that the force is spread out over a bigger area on the left where the caul is in place, compared to on the right where the clamp is applied directly to the fingerboard.

I have just used some scraps of softwood I had lying around and cut a piece to match the size of the fingerboard, which is slightly narrower at the nut end than at the soundhole end. Maybe this was a bit over the top in hindsight, as it could have just been made to the maximum width, but I wanted to get the clamping forces as close to the edge of the fingerboard as possible.

I cut some 3mm thick cork and clued it to the underside, to protect the fingerboard.This picture shows it clamped up  while glueing.


 Next I trimmed off the excess with a stanley knife and sanded the edges flush on the belt sander.


I needed to rebate the cork so that it would press on the fingerboard and not the fret wires. So that I could draw the positions of the frets on perpendicular, I used the tapered piece of wood I had trimmed off the caul, so that I could use a square to mark off.


These next 2 pictures show the tapered neck width and also how much of a kick up there is in the neck!


Next stage is to mark the positions of the frets, then cut away the cork in each location using the mitre block to keep it all square


When this is clamped up, the forces will be applied directly to the fingerboard and not to the frets.

So, with the caul complete, I need to make the clamps that will hold it against the neck. There will be five of them and they get progressively wider as they go down the neck. This is what the finished product will look like.


Similar process as for the caul, I cut the wood to size (about 25mm square) and then clamped and glued cork to one surface.


Then I used the bandsaw to cut into 5 matching pairs.


This next photo shows the difference between shortest and longest. Not a lot and I'm not sure I'd bother if I was doing it again.


Then I marked up matching holes for the clamp bolts and drilled through each matching pair.


I used 5mm threaded rod to make the clamping bolts, and wing nuts for quick adjustment. This is what they'll look like when in place.


All together, it took an afternoon and less than £10 worth of bits and pieces, but should be a much more effective system than the 1st attempt - a reminder of how this looked:


Faith Naked Venus Neck Repair - Part 2 - Introduction


Avid followers of this blog (all 3 of you) will remember last year's project to repair the broken neck on my Faith Naked Venus.I bought this guitar for not a huge amount of money off EBay a couple of years ago as a guinea pig to get to try out my ham fisted luthiery  before I spend more significant money on trying to build an acoustic guitar from scratch.


Well, it kind of worked, in that I have a fairly solid neck now, but the alignment of the fingerboard was all over the place, with a pronounced kick up at the neck by about 2mm - not good and pretty unplayable unless you capo it above this point. It's also very ugly, as the photos prove. So, now that I have the experience of removing and repacing the fingerboard under my belt, I thought I'd do that on the Faith and correct the flatness of the neck before re-gluing. 


I'm still not convinced this will be the end of the story and I have in the back of my mind that I might ultimately try making a new neck, as that is the part of building a guitar that I'm most phased by, so it would be good to practice first.

Simple plan of action is:
  • remove fingerboard
  • flatten neck at the nut
  • reglue fingerboard 
Learning lessons from the Applause repair, first I'm going to make some specific clamps and cauls for the fingerboard to try and get as much even pressure on it as I can when it comes to reglueing.